Soldering Irons
It may surprise some to hear that the RV-14 isn't the first aircraft I've worked on- There are 2 other projects which I would consider aircraft of my own work. The RV-14 is certainly the biggest, and the only one which is meant for human use. The other 2 were a paraglider meant for a college project, and before that a drone which I wrote all the software for back in high school. There are a few common elements, but so far only a single common tool: the good ol' soldering iron.
Rarely ever are the irons used for their intended purpose. The most common soldering iron is a wand designed to put out between 15 and 65 watts, with a heating element and thermistor for temperature feedback. They all have a tip, which can take many forms, most commonly a chisel shape for heating material. The intended use is for the 'material' to be an alloy of tin, and some other additives which will be us to bond copper to other copper-like alloys. Across these three projects, I've only used it for this purpose once. One would think my education would endow me with a respect for this vital tool, and that thought would be wrong.
In this adventure, the usage for my soldering iron comes in removing the protective blue layer of the aluminum. This protective layer is only there to keep the odd harsh interaction from leaving permanent marks.
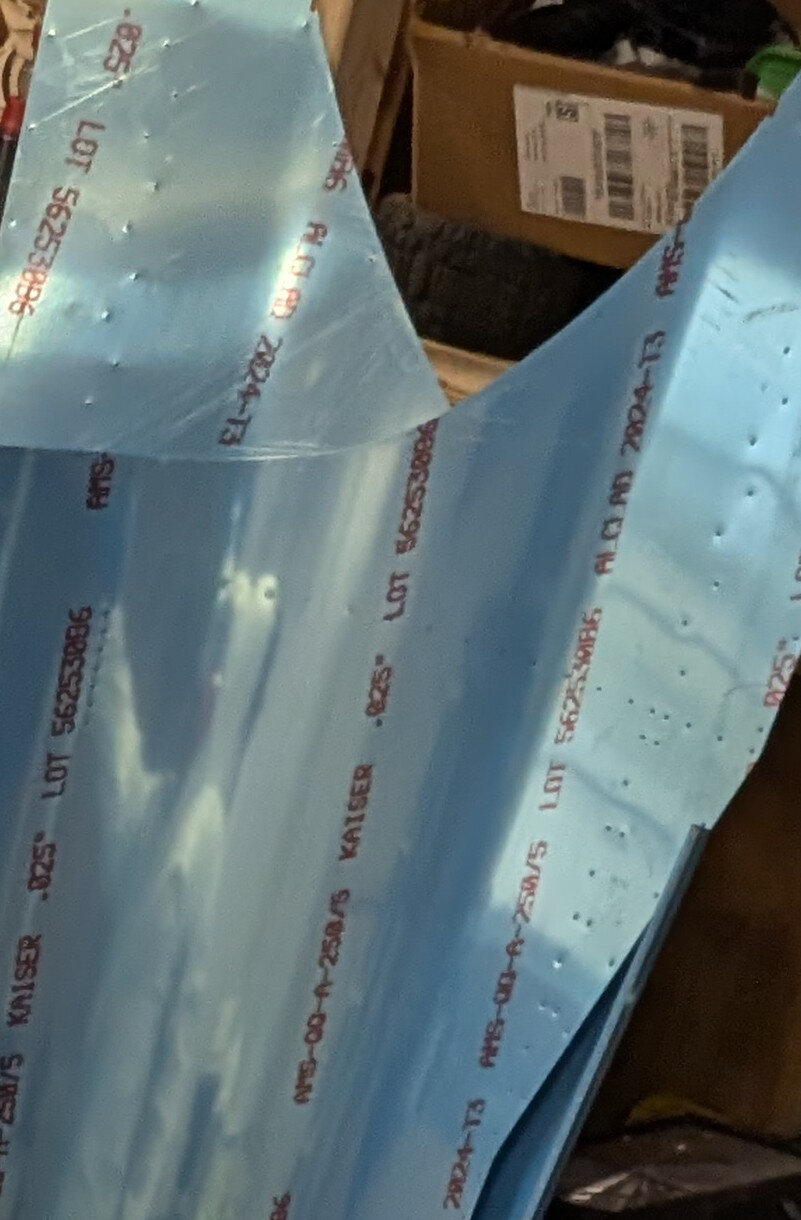 [full size]
\[depicted above: said protective blue skin. It's made of a layer of thermoplastic around 5 mils thick, stuck to the aluminum by adhesive. It actually makes up a sizable portion of the weight, I'd bet almost 5%\]
[full size]
\[depicted above: said protective blue skin. It's made of a layer of thermoplastic around 5 mils thick, stuck to the aluminum by adhesive. It actually makes up a sizable portion of the weight, I'd bet almost 5%\]
This plastic coating is great at doing its job, but it has a bit of trouble on certain aspects of airframe assembly. The layers are just thick enough to make all dimpling operations completely useless. While you can dimple once with the blue skin on, and then once more with it off, this leaves no room for mistakes. According to vans, you get one 'redo' with most skins when it comes to dimpling. Once a skin is dimpled once, it can only be altered again one more time. If there's any more alterations than that, then you've got a 'dead skin'. Dimpling with the blue tape counts as 1 operation, and dimpling without would be another operation. not only does this double your dimpling operations, but you're removing any opportunity to correct your mistakes.
So what is one to do in this predicament? They turn to their soldering iron of course, and ask it to lend a hand. You see, a knife, even a dull one will leave deep scratches in the skins. Each scratch is a stress concentrator, and enough wear cycles can and will lead to catastrophic failure. As you can probably tell, this is where the iron comes in. Heat is the cutting force of these operations.
 [full size]
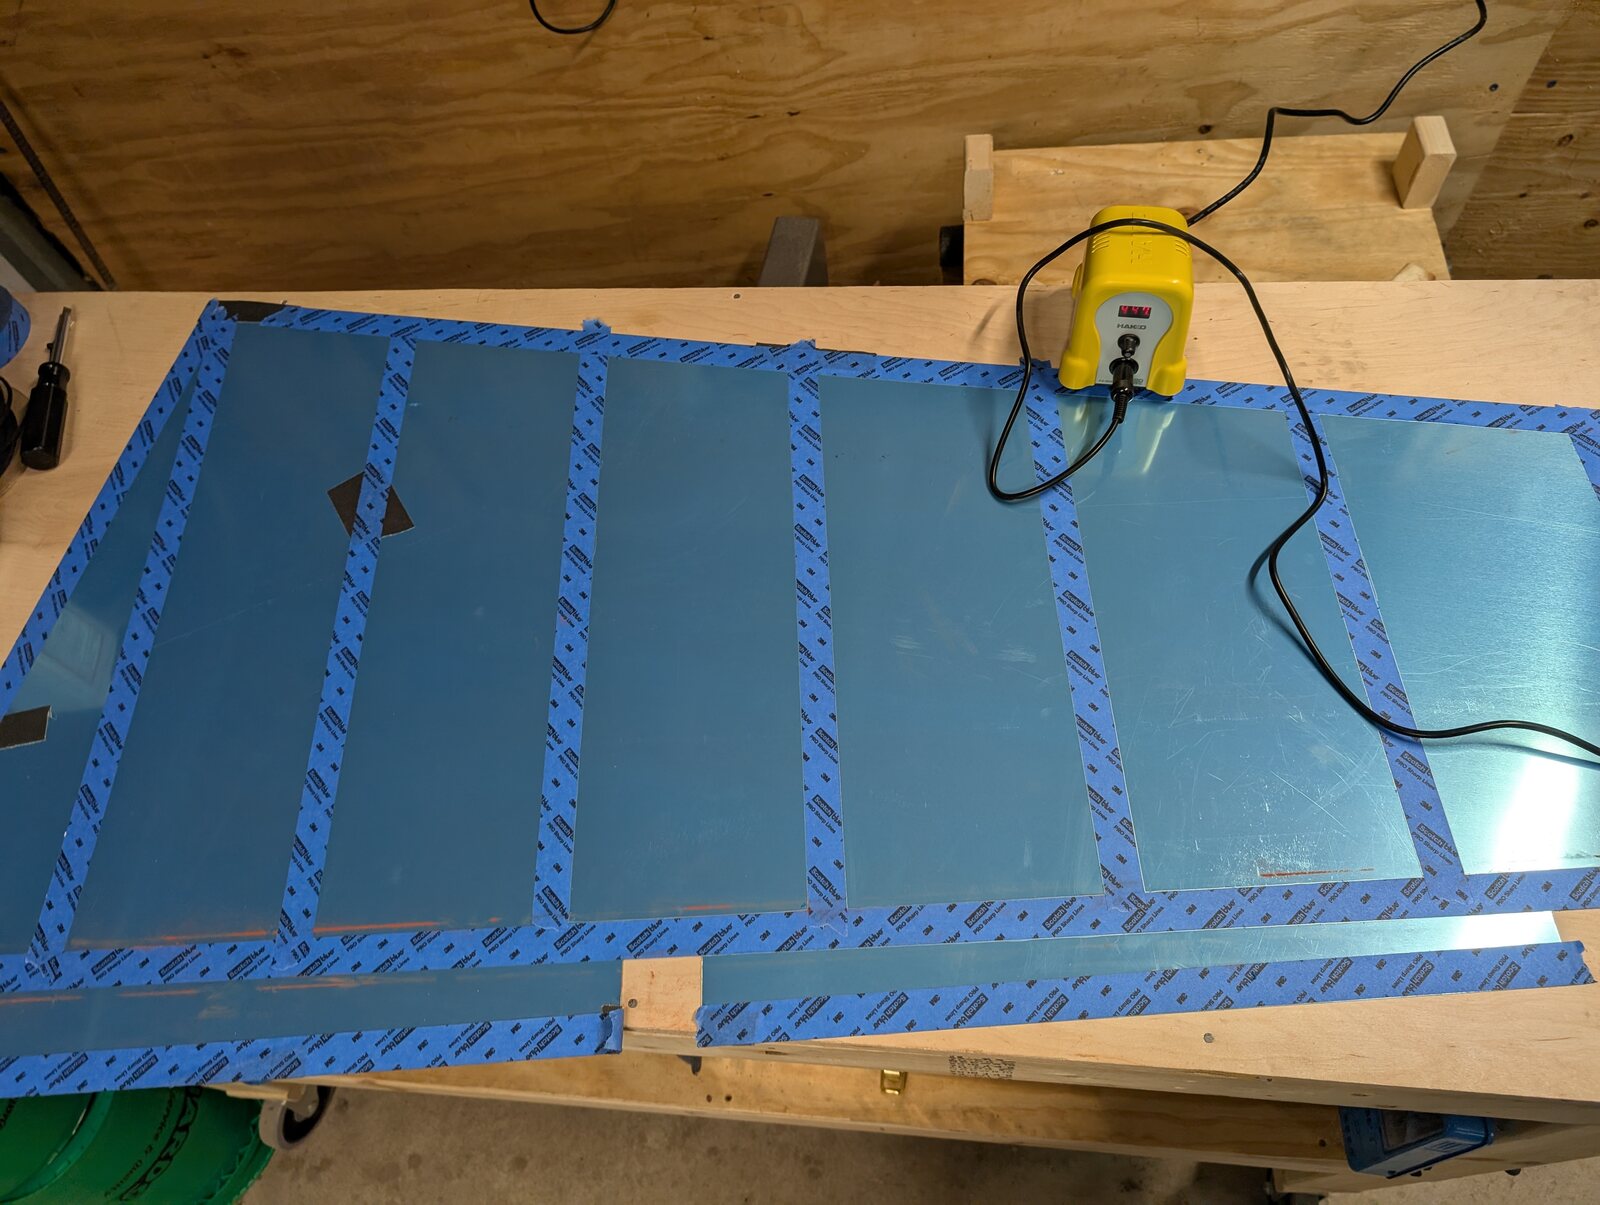
We start by taping up the holes, doing our best to center the tape over the holes. Just like in painting, this will be used to mask the tape we want to remove early. In this picture I used Scotch Blue Pro, when the stores are open tomorrow, I'm getting the cheapest 1" tape they sell. There's no need to pay the extra for a "pro" product.
[full size]
We start by taping up the holes, doing our best to center the tape over the holes. Just like in painting, this will be used to mask the tape we want to remove early. In this picture I used Scotch Blue Pro, when the stores are open tomorrow, I'm getting the cheapest 1" tape they sell. There's no need to pay the extra for a "pro" product.
Next, you lightly drag the iron (with a light touch, no need to add more pressure than the weight of your index finger) across the skin, using the tape as a boundary
 [full size]
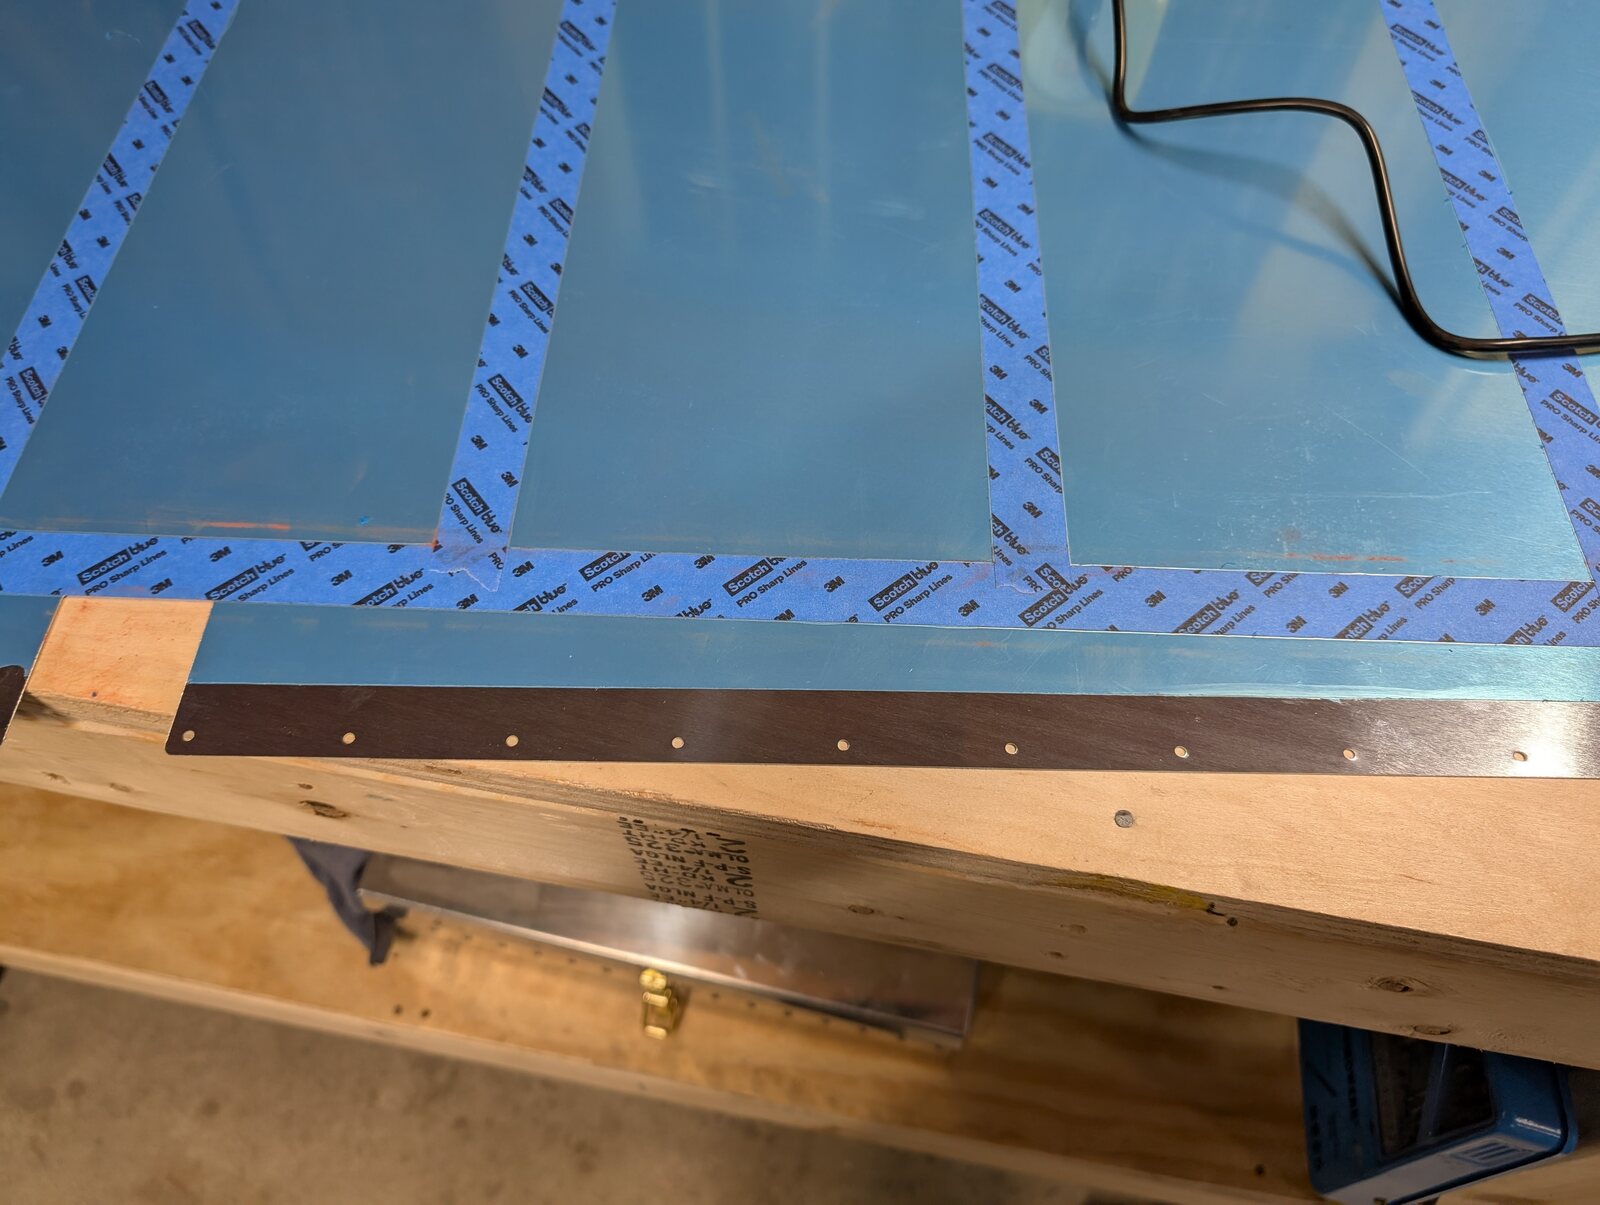
Here you can see on the left: parts of a 'cut' line. I set my iron to 430F, this is enough to make the score marks. you don't need to get all the way through the plastic either, you only need to reduce the thinckness enough to separate when peeled. slow and steady wins here.
pro 'tip': always practice on the inside part first! vans manual says all scratches must be buffed out no matter how small, and ugly buff marks are harder to see when they're covered by primer, and much more so on the inside of your plane!
 [full size]
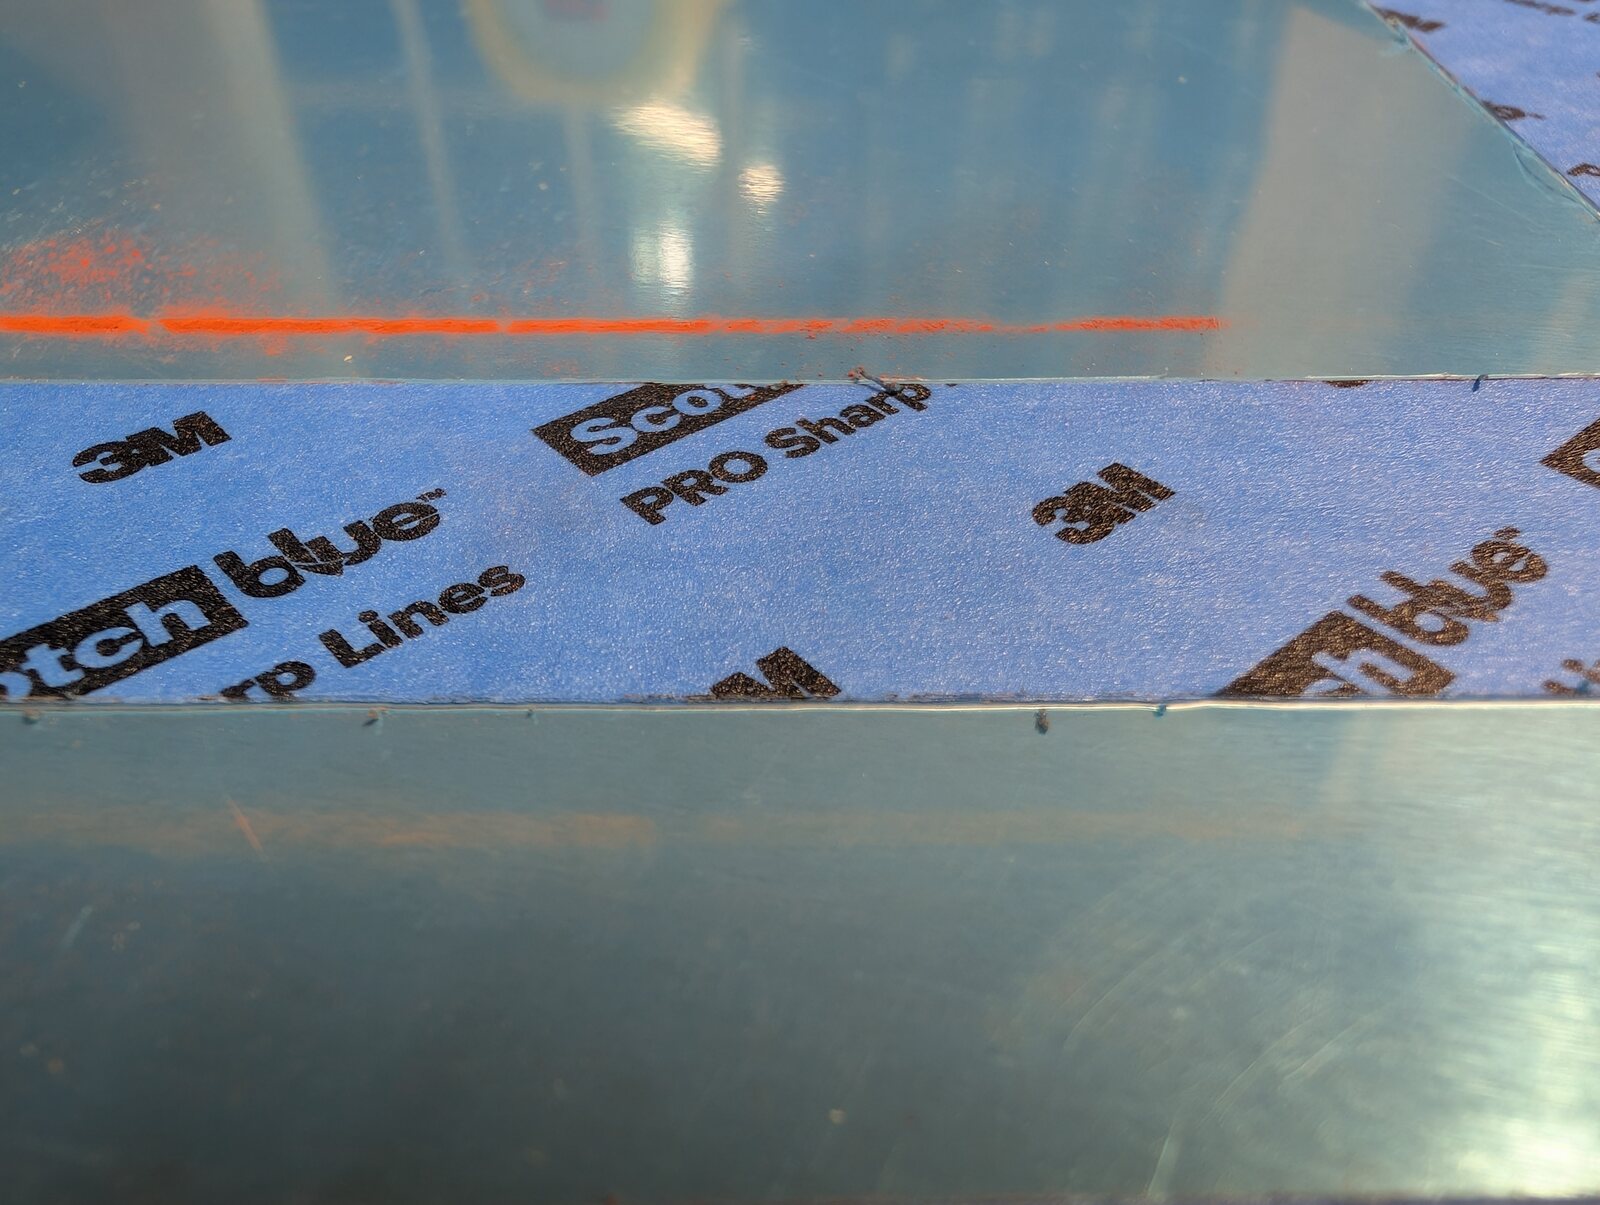
here is a close up of the line laid, after the iron has cut through the protective layer. Above the tape is a chalk line that I placed there to aid in alignment. I don't think it was worth the time, just go with the tape by hand.
[full size]
here is a close up of the line laid, after the iron has cut through the protective layer. Above the tape is a chalk line that I placed there to aid in alignment. I don't think it was worth the time, just go with the tape by hand.
 [full size]
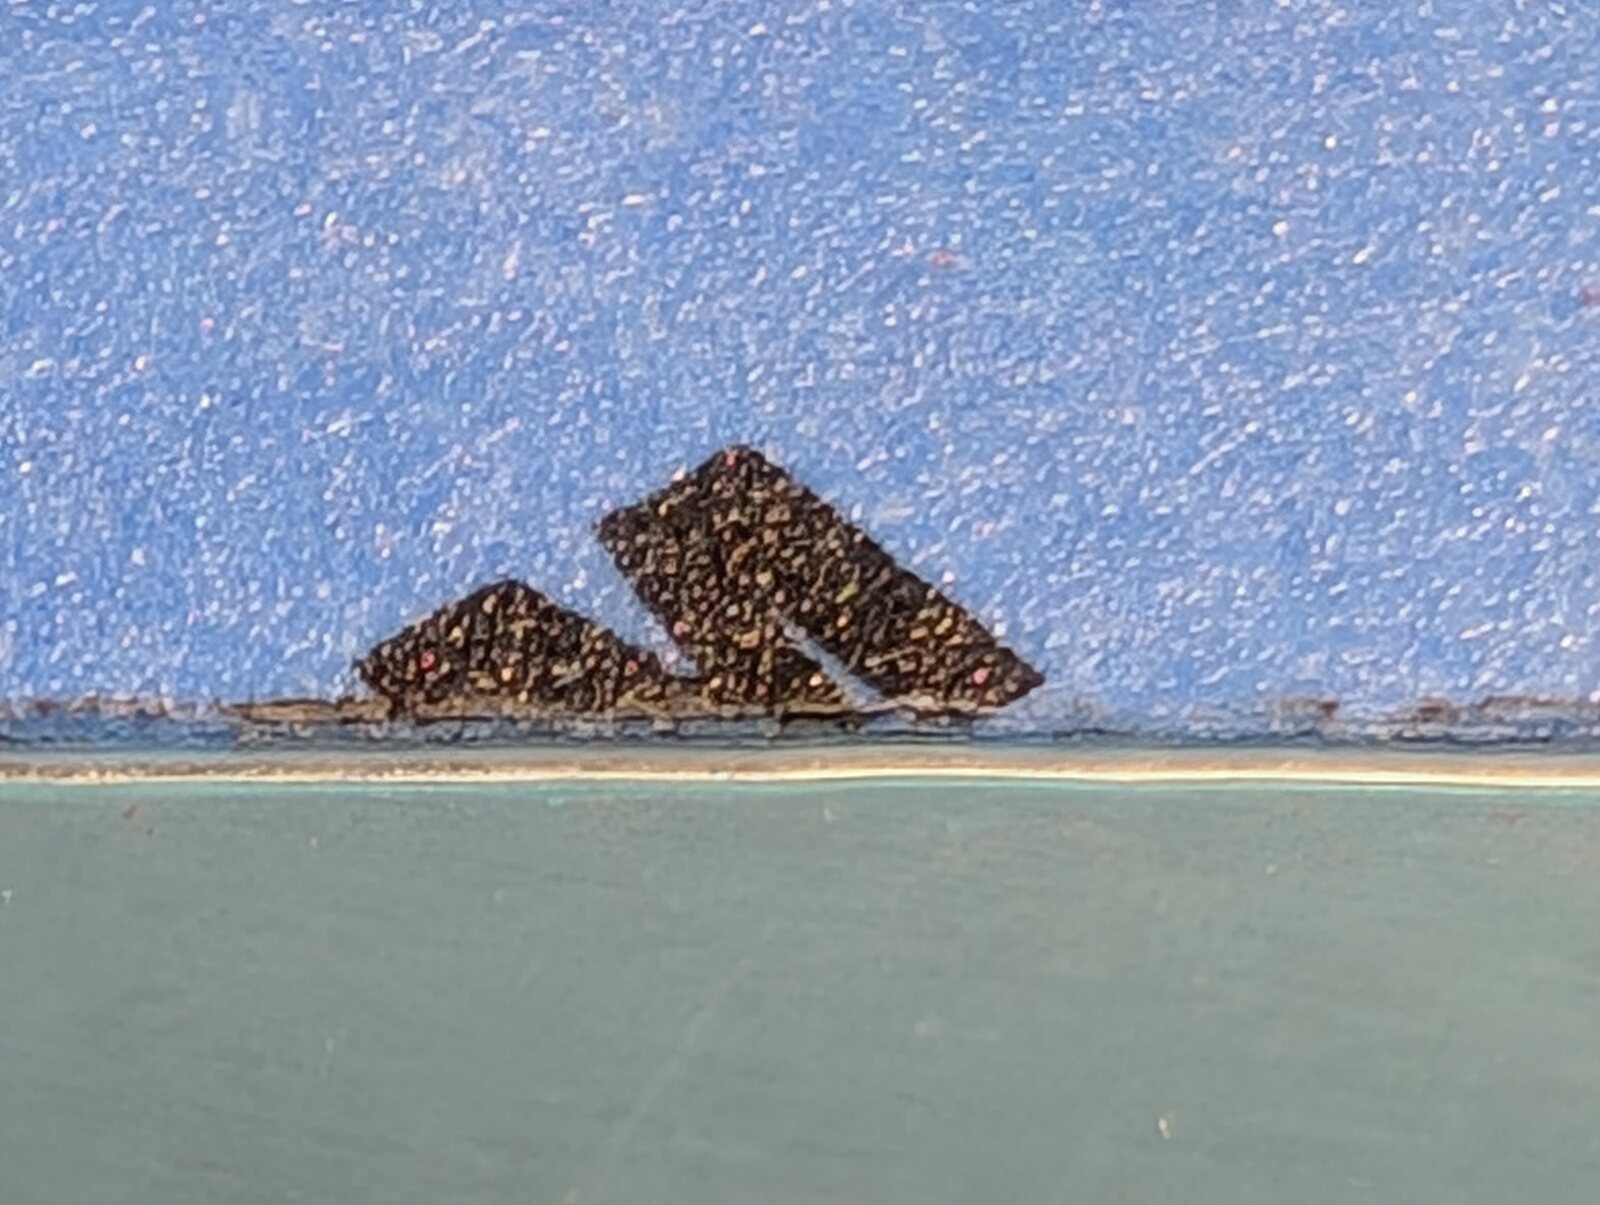
and finally a macro shot. You can see the skin is separated, and this isn't normally what I go for, instead usually opting for a lighter touch.
[full size]
and finally a macro shot. You can see the skin is separated, and this isn't normally what I go for, instead usually opting for a lighter touch.
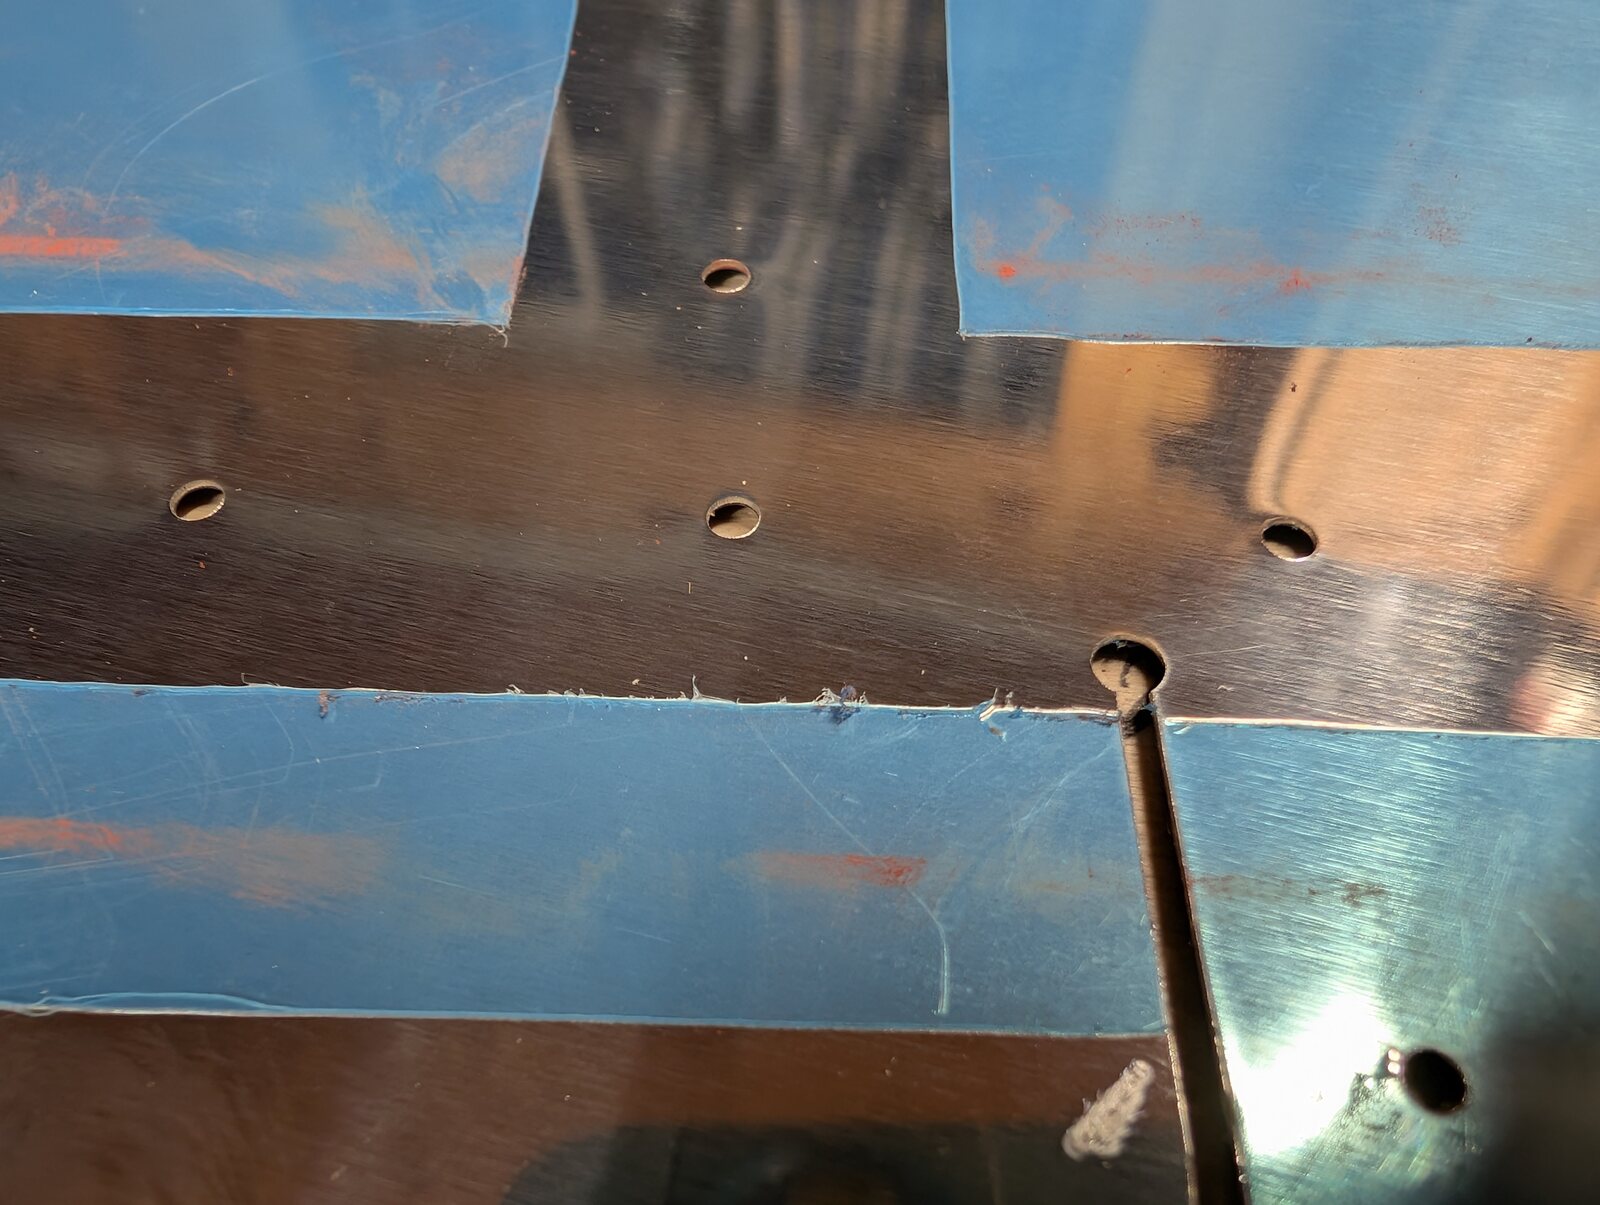
After tracing everything, there is only a single step left: PEEL
 [full size]
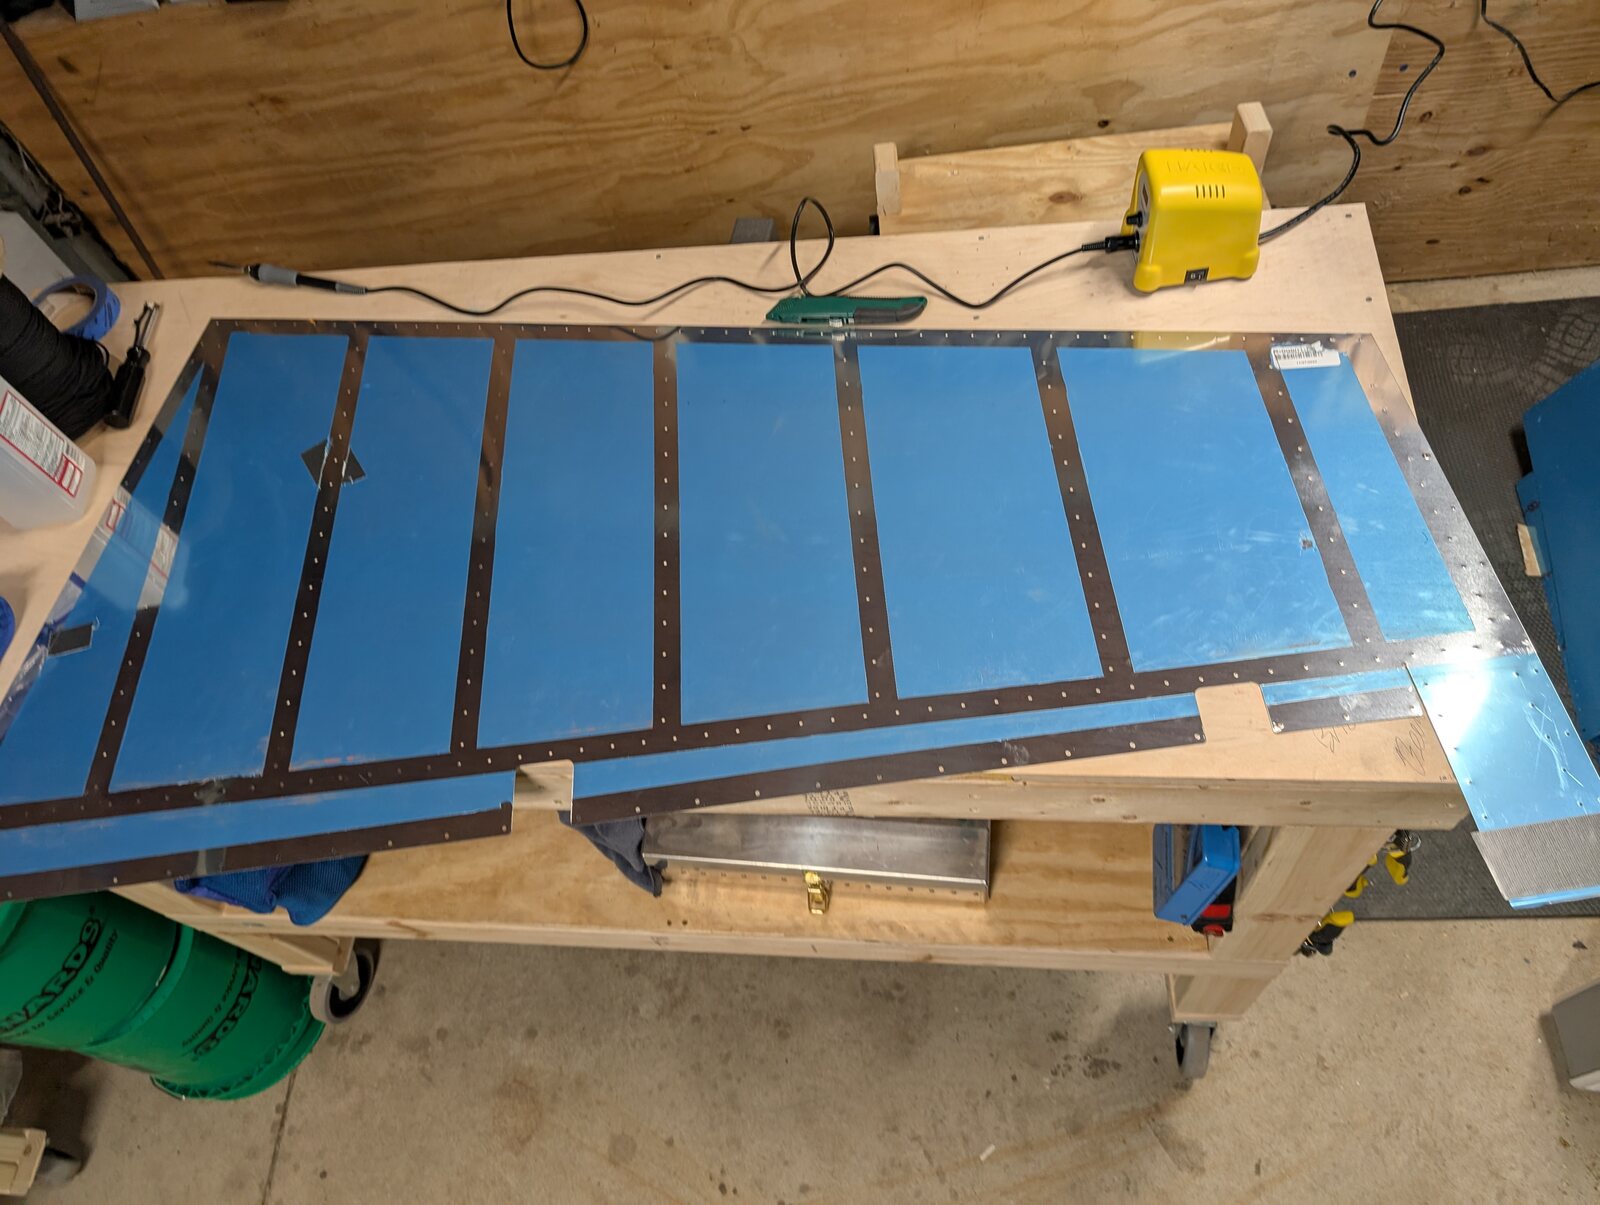
aaaand!
[full size]
aaaand!
 [full size]
beautiful! cut exactly along the edges, while leaving the protection in place.
[full size]
beautiful! cut exactly along the edges, while leaving the protection in place.
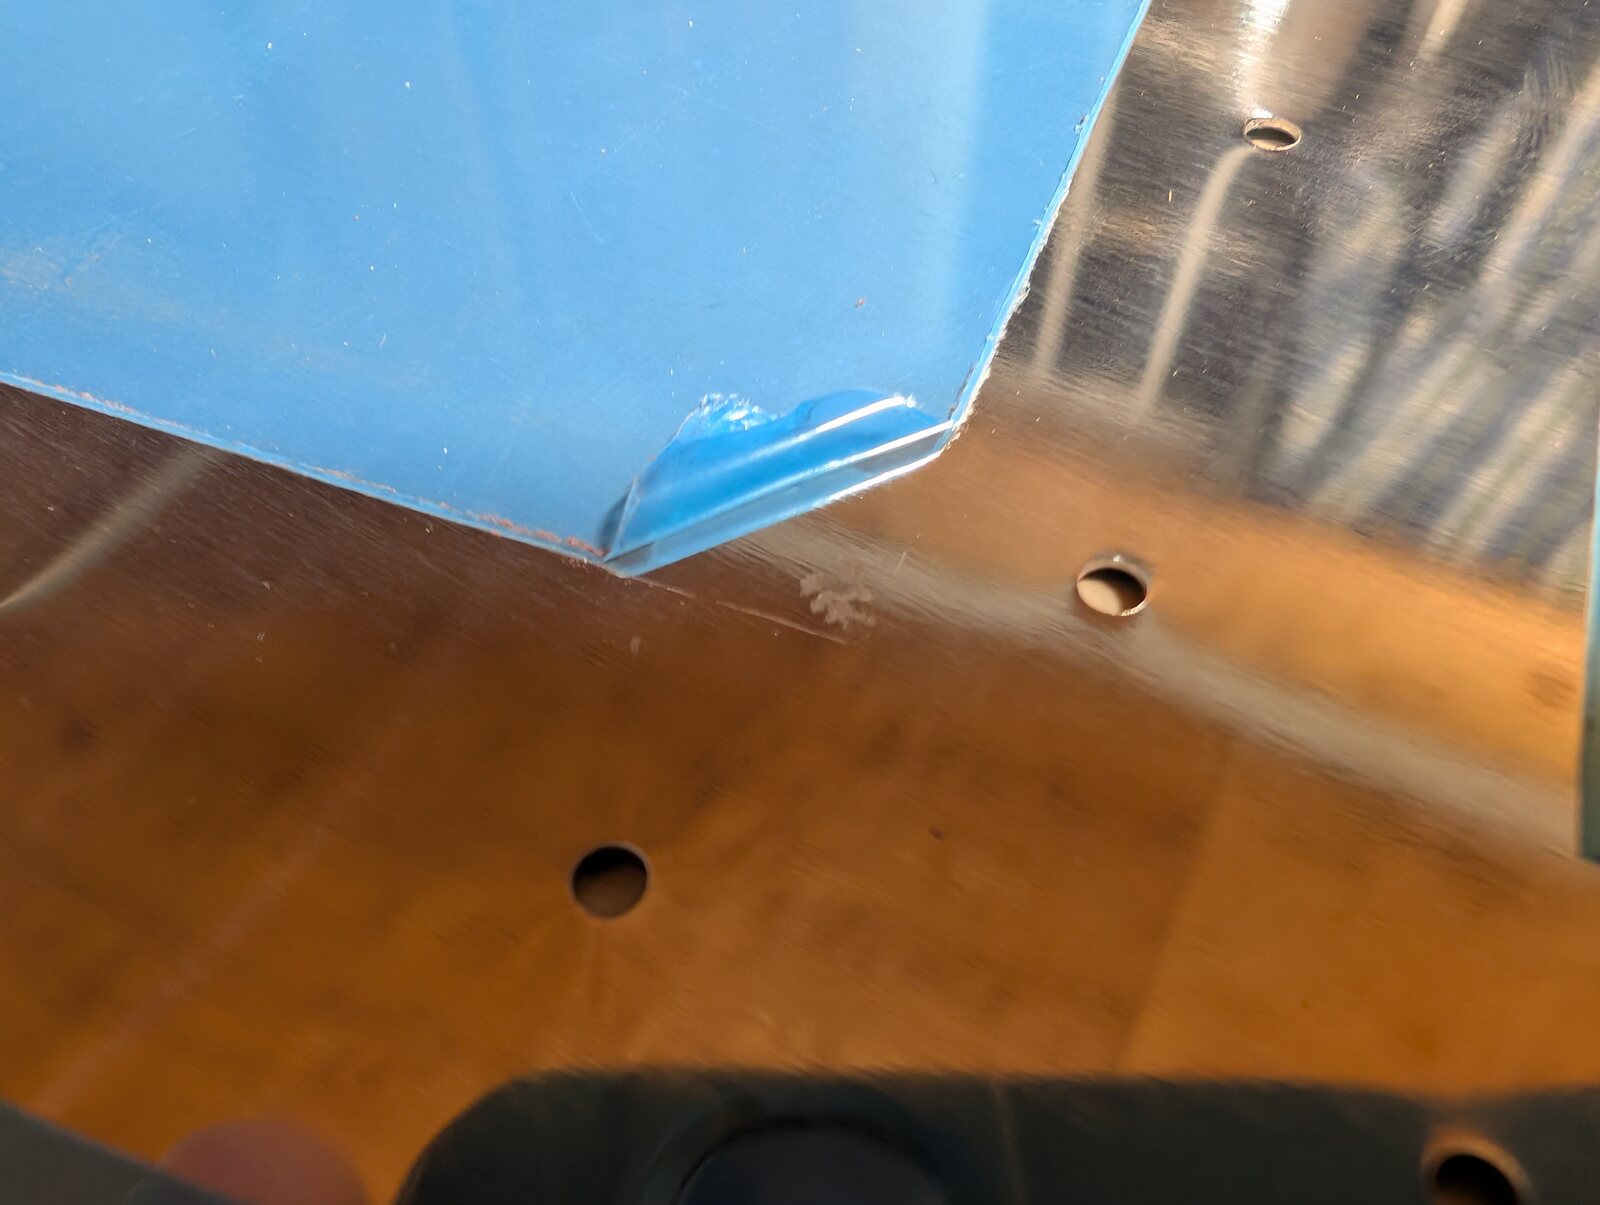
Now, if we take a peek at those corners, we should see.. oh?
 [full size]
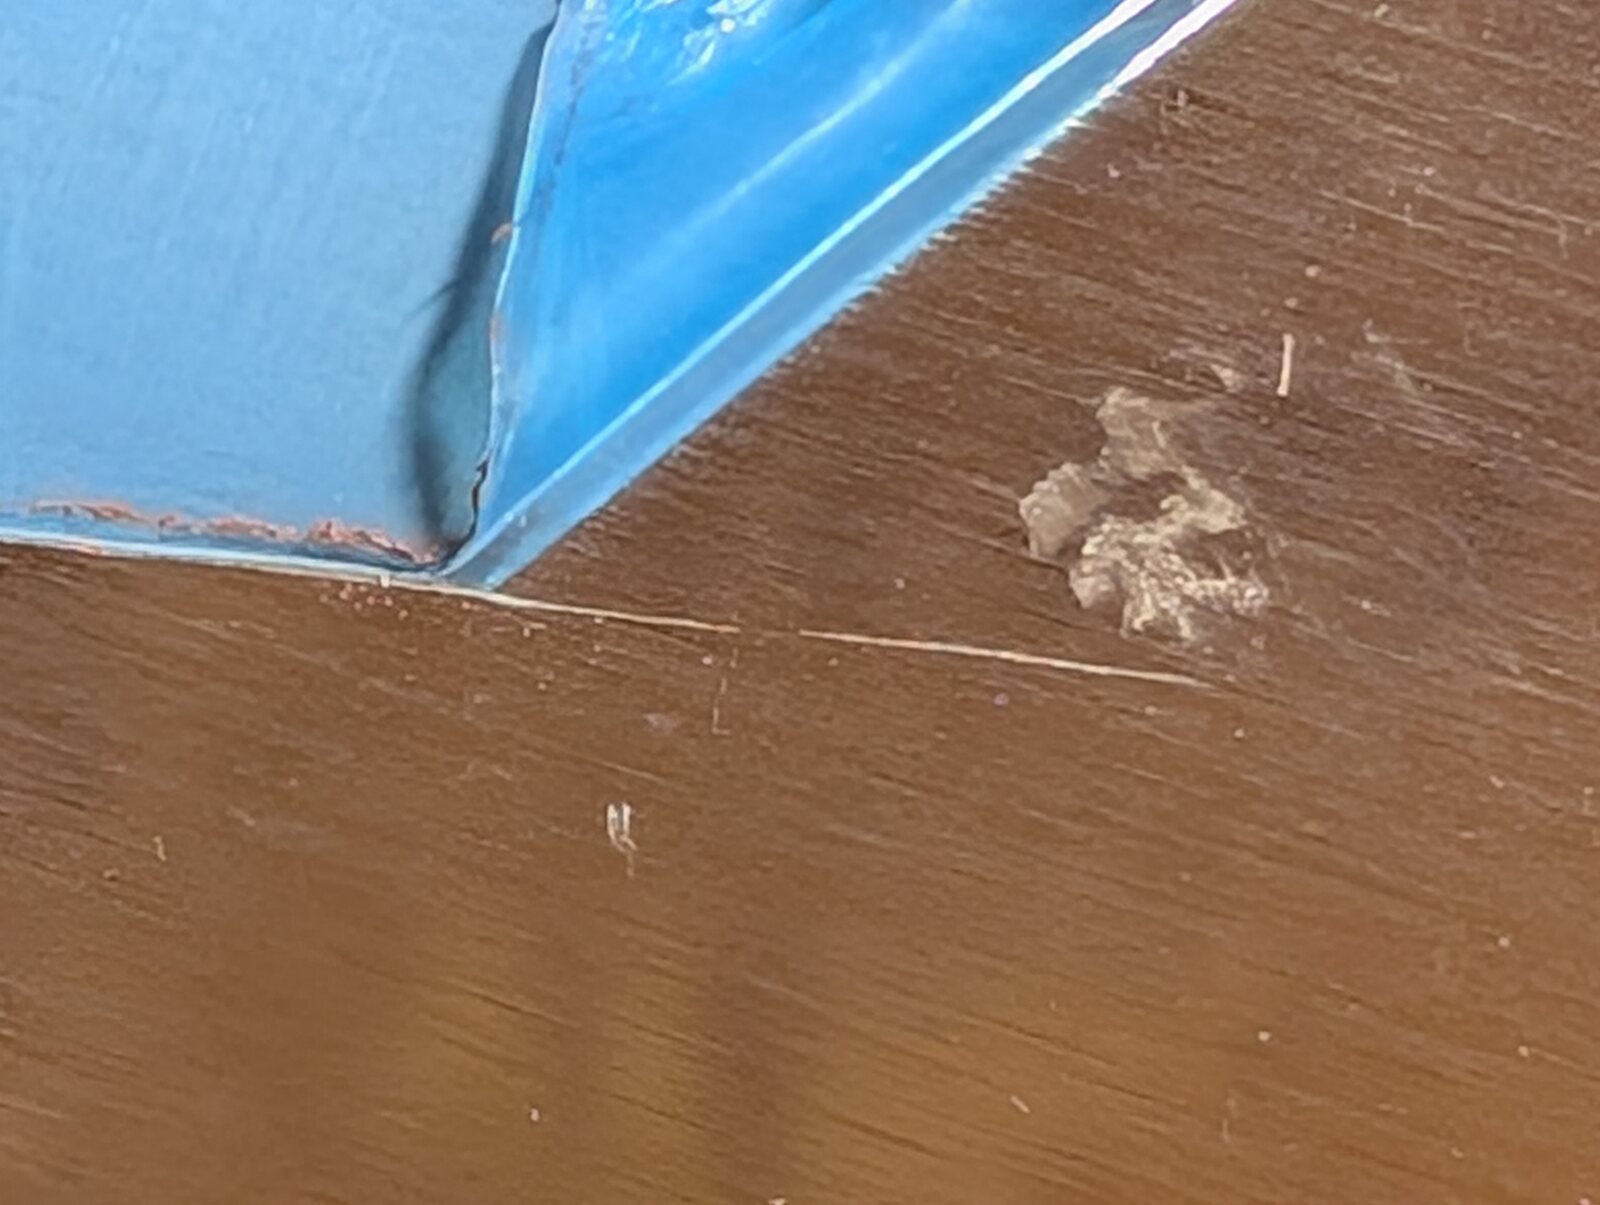
oh dear. even my light touch appears to have soiled part of the aluminum..
[full size]
oh dear. even my light touch appears to have soiled part of the aluminum..
 [full size]
One under my macro. For reference, that peeled away portion is just under 1cm in length, so the scratch in this case is superficial. Still, like mentioned above, it will have to be buffed out. I'm confident that at this size, I can scuff it out while prepping for priming the skin.
[full size]
One under my macro. For reference, that peeled away portion is just under 1cm in length, so the scratch in this case is superficial. Still, like mentioned above, it will have to be buffed out. I'm confident that at this size, I can scuff it out while prepping for priming the skin.
Aw well, This is why we do the inside first, right?!