Blue film, and drilling out rivets
Hello again! It's been a few weeks, and the elevator is coming along. Nothing big enough to need a post of its own this time, but two small things kept coming up while I was working, so here they are together: what to do with the blue plastic film on the skins, and how to get a bad rivet back out.
The blue film
Every aluminum skin in the kit arrives wearing a layer of blue plastic film. It's there to keep the sheet from getting scratched on its way from the mill to your garage, and it does a good job. It's also printed with the stock markings (the alloy specification, the thickness, and the lot number), which is handy if you ever need to trace a piece of material back to where it came from. The temptation is to rip all of it off on day one, but a bare alclad sheet scratches easily, and a deep scratch in a skin is a stress riser you can't un-make. So the rule I've settled on is to take the film off only where the work demands it, and leave it everywhere else for as long as possible.
 [full size]
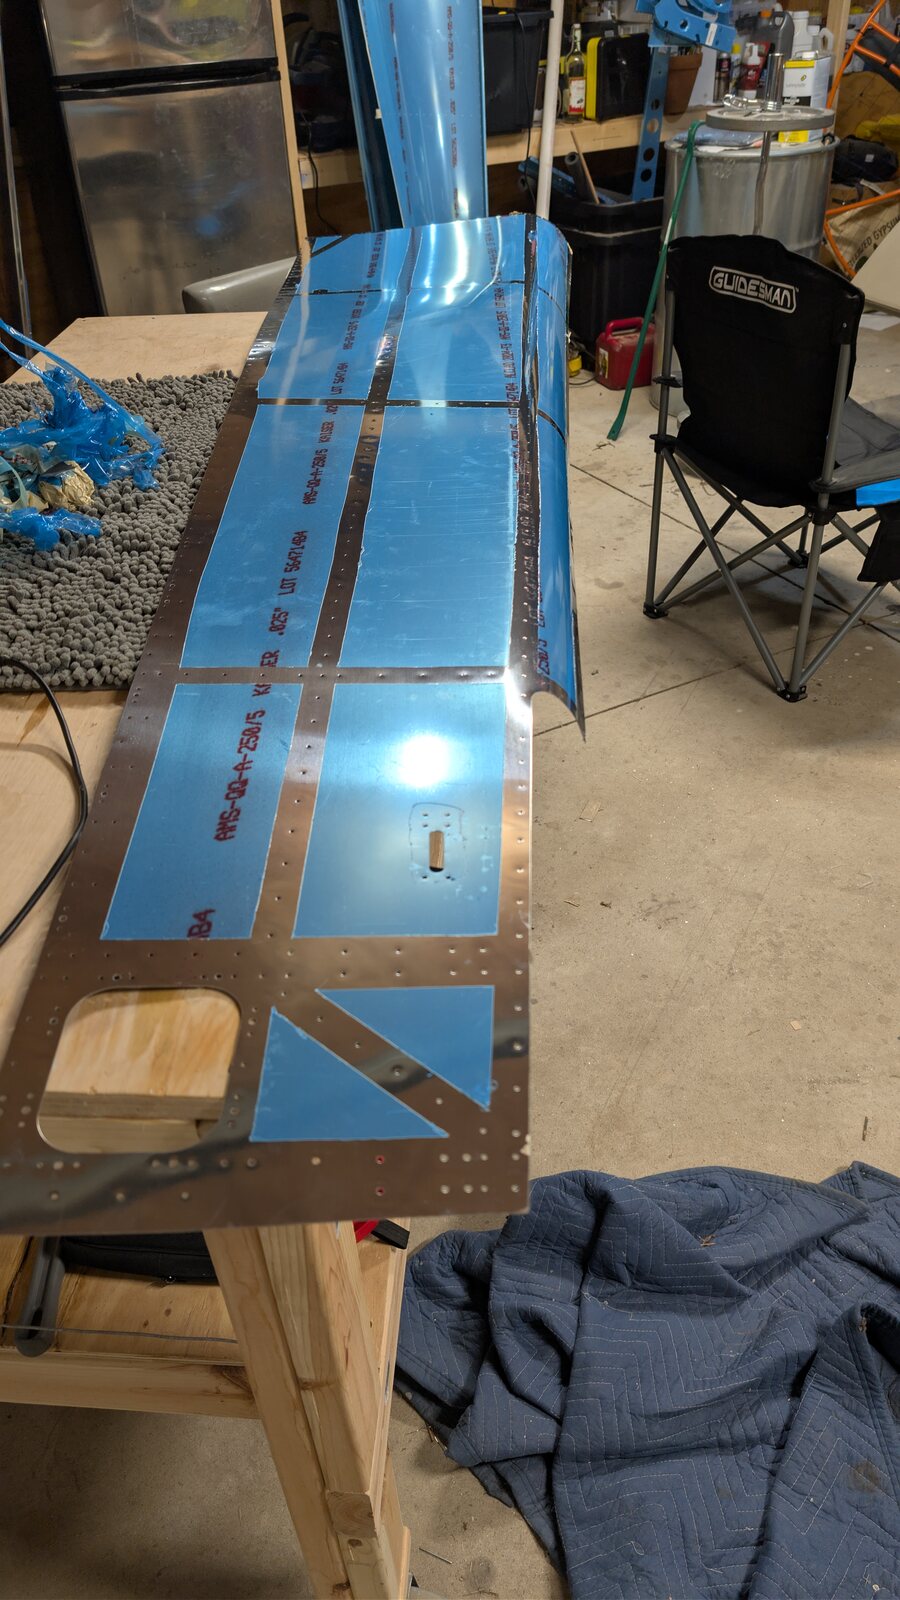
An elevator skin with the film stripped from the seams only. The big panels stay protected until the very end.
[full size]
An elevator skin with the film stripped from the seams only. The big panels stay protected until the very end.
![[full size]](../static/calendar-images/PXL_20260927_043928527.jpg)
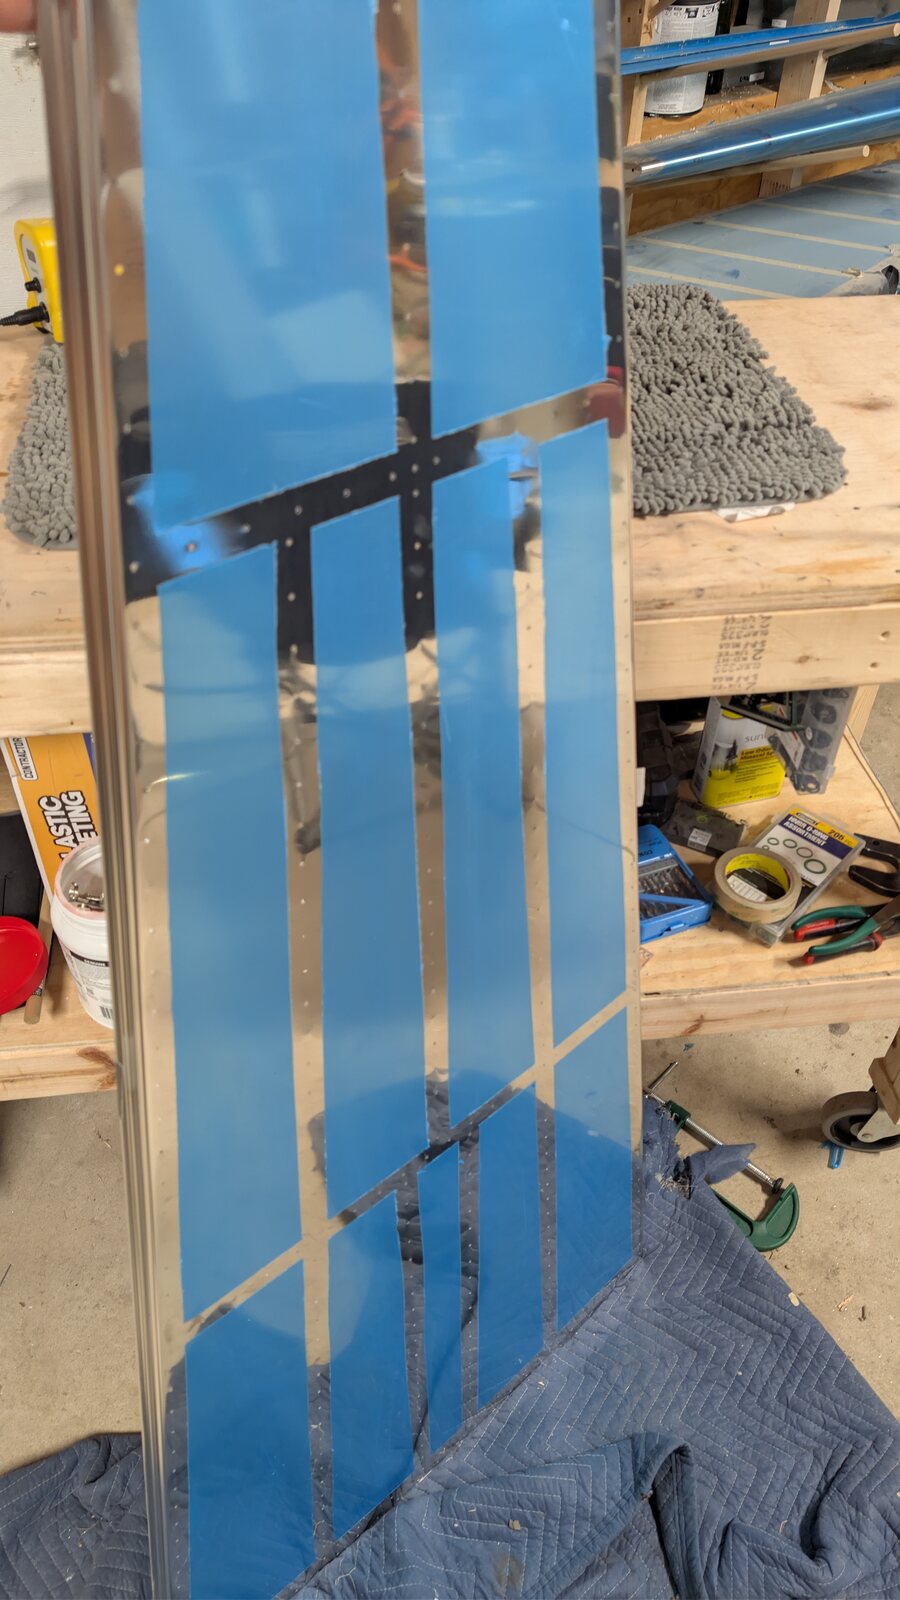
What demands removal is anywhere metal has to meet metal or metal has to meet rivets. Along every rivet line and on every faying surface, the film has to go: it would be crushed and trapped under the rivet, it prevents primer from bonding where it's needed, and it makes it impossible to see what the dimples are doing. The way I do it is to cut the film along the edge of each strip I want clear, then peel it up in one piece. Once it's off, the seam is bare metal and the large panel in between is still protected. You can see the result in the photo above: a grid of polished seams, with blue islands in between. It looks a little odd, but nothing in the middle of those panels has ever been touched by a tool.
 [full size]
![[full size]](../static/calendar-images/PXL_20260927_040414055.jpg)
Drilling out a bad rivet
Sooner or later a rivet comes out wrong. It might be crooked, the shop head might be too short, or the manufactured head might be cracked, and Van's has published quality standards for exactly what counts as acceptable. Anything outside those standards has to come out. This is well-known territory among builders (people drill out hundreds of rivets over the course of a build), but it's still easy to do badly, and a drill that walks off center will elongate the hole in the skin and turn a one-minute fix into a repair.
 [full size]
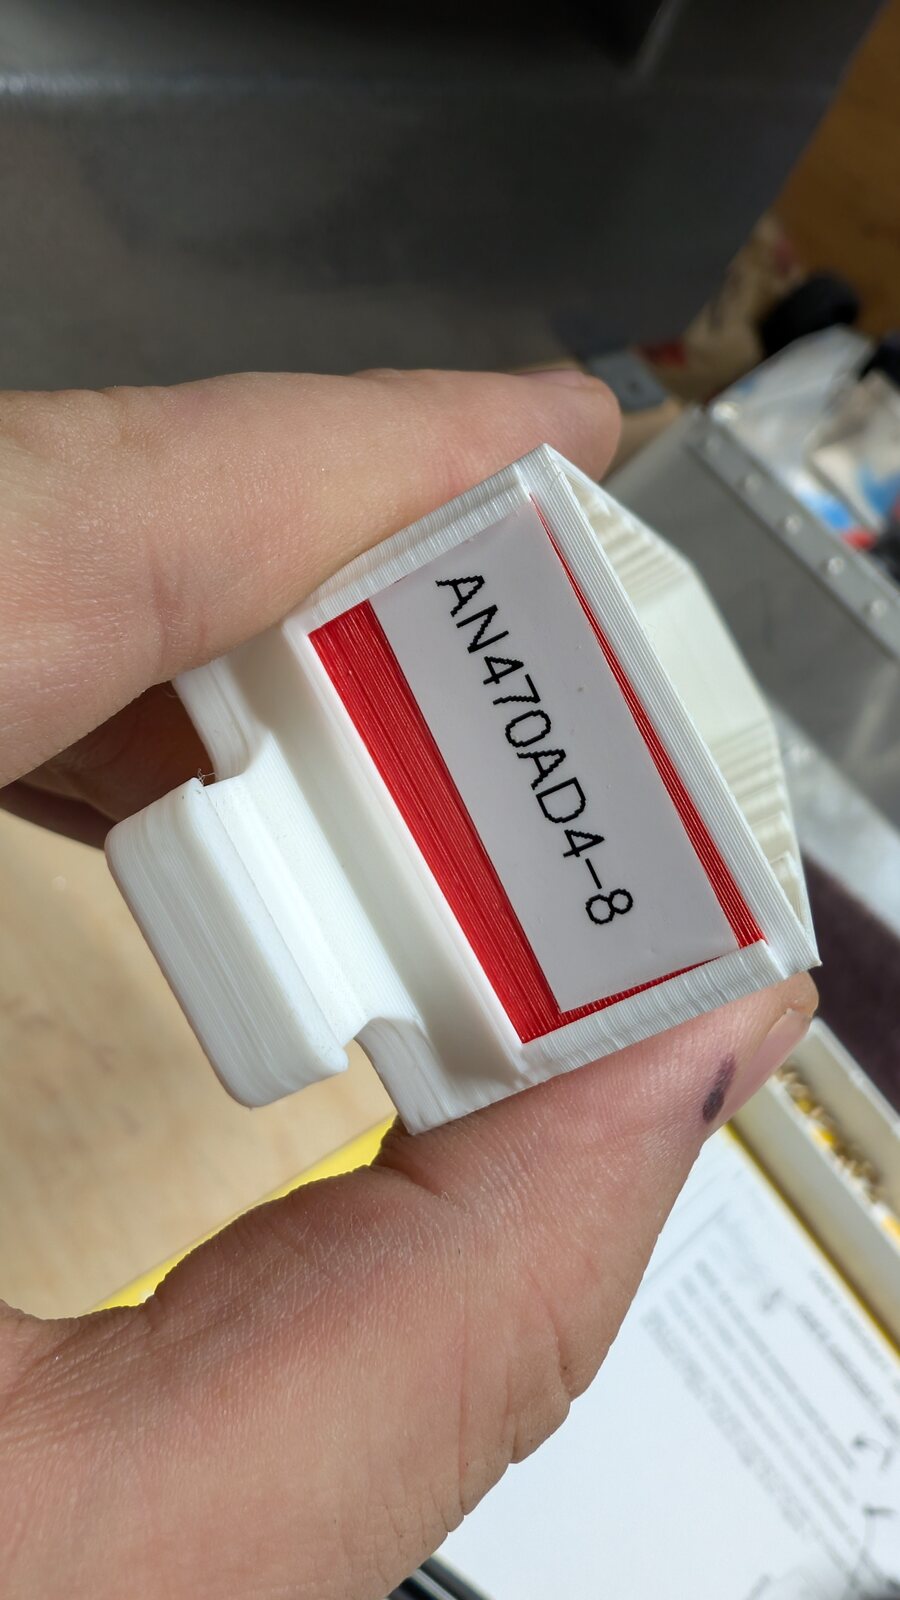
Replacements come out of the drawers: this one is AN470AD4-8, the universal-head rivet that makes up most of the plane's bulkheads.
[full size]
Replacements come out of the drawers: this one is AN470AD4-8, the universal-head rivet that makes up most of the plane's bulkheads.
![[full size]](../static/calendar-images/PXL_20261011_185243068.jpg)
The process has three steps. First, drill out the head, using a bit the same size as the rivet shank and going down only to the base of the head. Don't go any deeper, since you don't want to start enlarging the hole in the skin. Second, drill into the body of the rivet with a much finer bit, which hollows out the shank and leaves a thin wall of rivet that no longer holds anything tight. Third, snap the head off with a punch, and pull what's left of the shank out of the hole. If everything has gone well, the hole is exactly as big as it was before the rivet went in, and a new rivet of the same size goes right back into it.
 [full size]
![[full size]](../static/calendar-images/PXL_20261011_233237496.jpg)
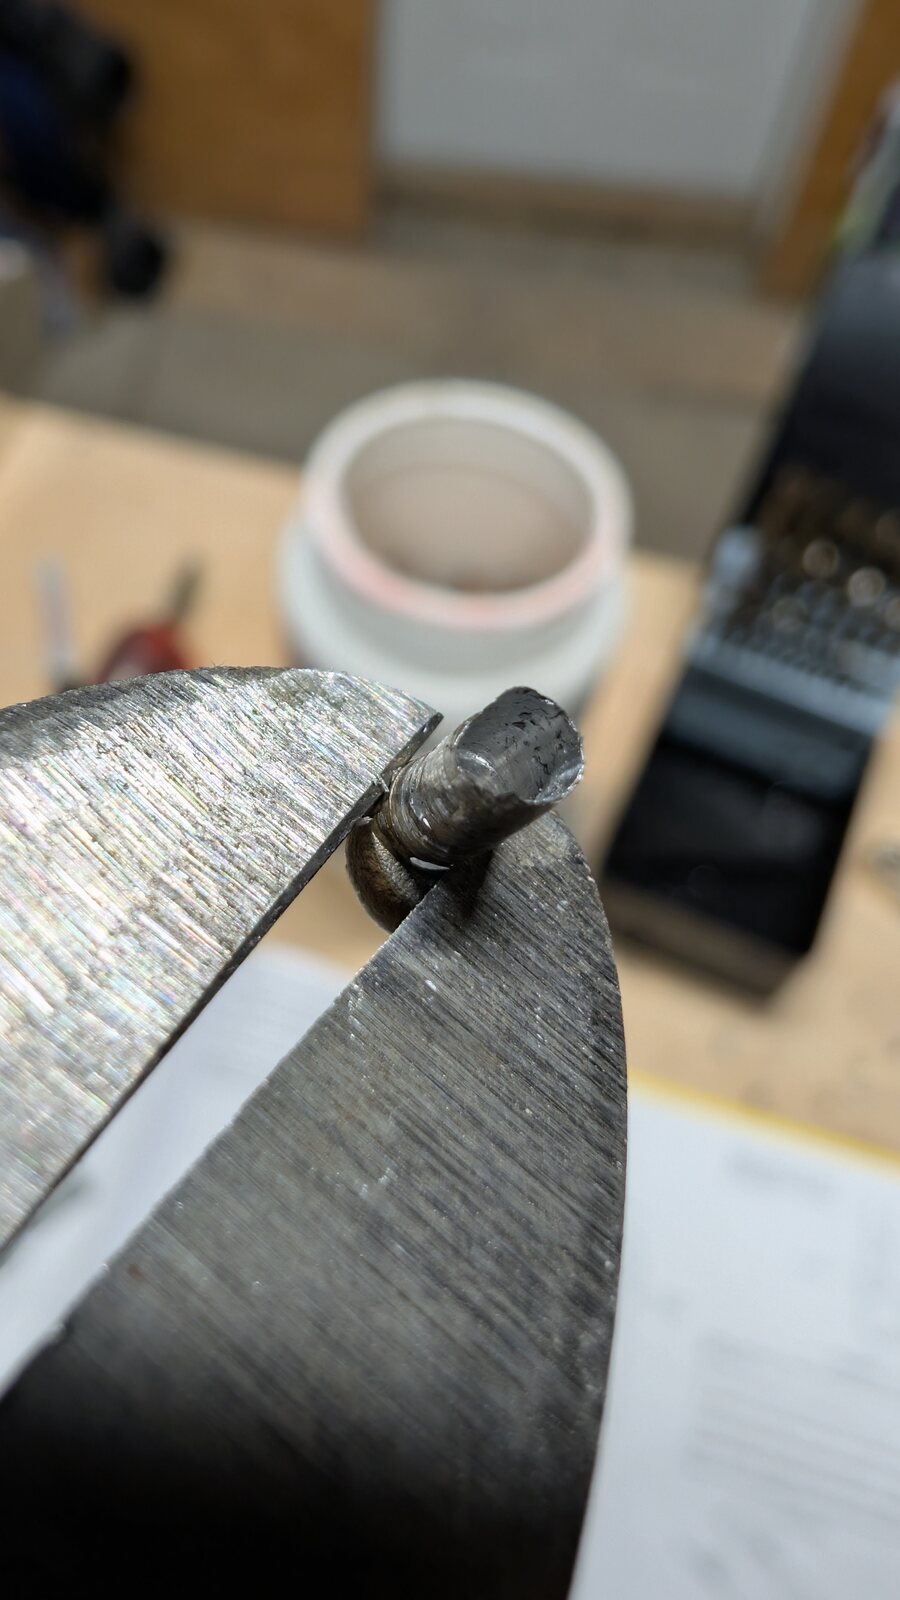
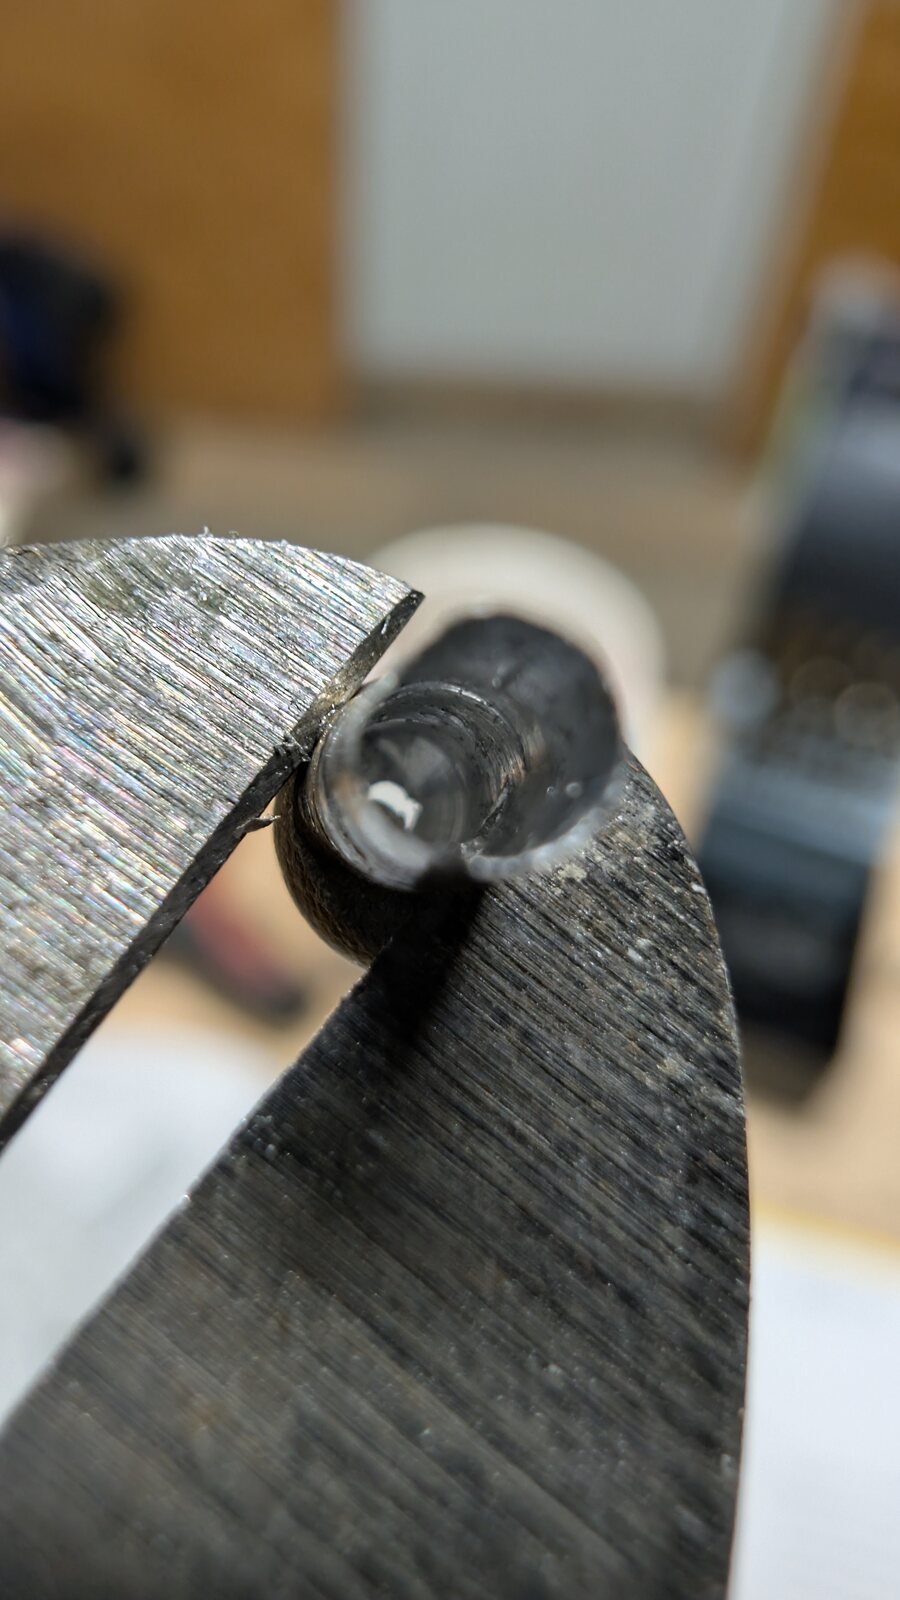
The proof is in the shank itself. These are the leftovers from a few I've removed lately, held in the cutters. They're -4-9 rivets, which are long, thin, and the least forgiving size to drill, since a long shank gives a bit plenty of room to drift sideways. In each one, the hole through the middle is almost perfectly centered, and the wall of the shank is an even thickness all the way around. That's what you're looking for: if the bore is off to one side, the bit was off to one side, and the hole in the skin has probably paid for it.
 [full size]
![[full size]](../static/calendar-images/PXL_20261011_233251727.jpg)
Both of these come down to the same idea: slow down at the point where a mistake costs the most. With the film, the point is deciding where to cut it, and with the rivets it's the first few turns of the drill. In both cases a few seconds of care keeps a small problem small. Next up is more of the elevator, and I'll make sure to document anything that goes wrong in a way I can learn from.