Priming the largest parts yet
New priming method
So the priming process that was used for the rudder was technically incomplete- The general steps for priming aluminum with epoxy (as opposed to chromate) is as follows:
- Remove the blue-tape
- Scuff surface with scotch-brite
- Clean the surface with IPA
- Etch with phosphoric acid
- Clean with water, then again with IPA
- Prime the surface with a fog coat.
- After 5 minutes or so, do a filler coat
- Wait 36 hours to continue normal assembly.
These 8 steps are generally accepted as the bespoke way to prime with epoxy. On the rudder however, I completely skipped steps 4 and 5, instead foregoing the phosphor etch completely. In theory, a phosphor etch will increase the surface area of a part by almost 30x, magnifying surface defects that could normally be measured in the low micro-meters, to valleys tens of micrometers deep. I didn't think that this had too much effect on the primer, as scuffing it already did this sort of valley forming effect, but I stand corrected.
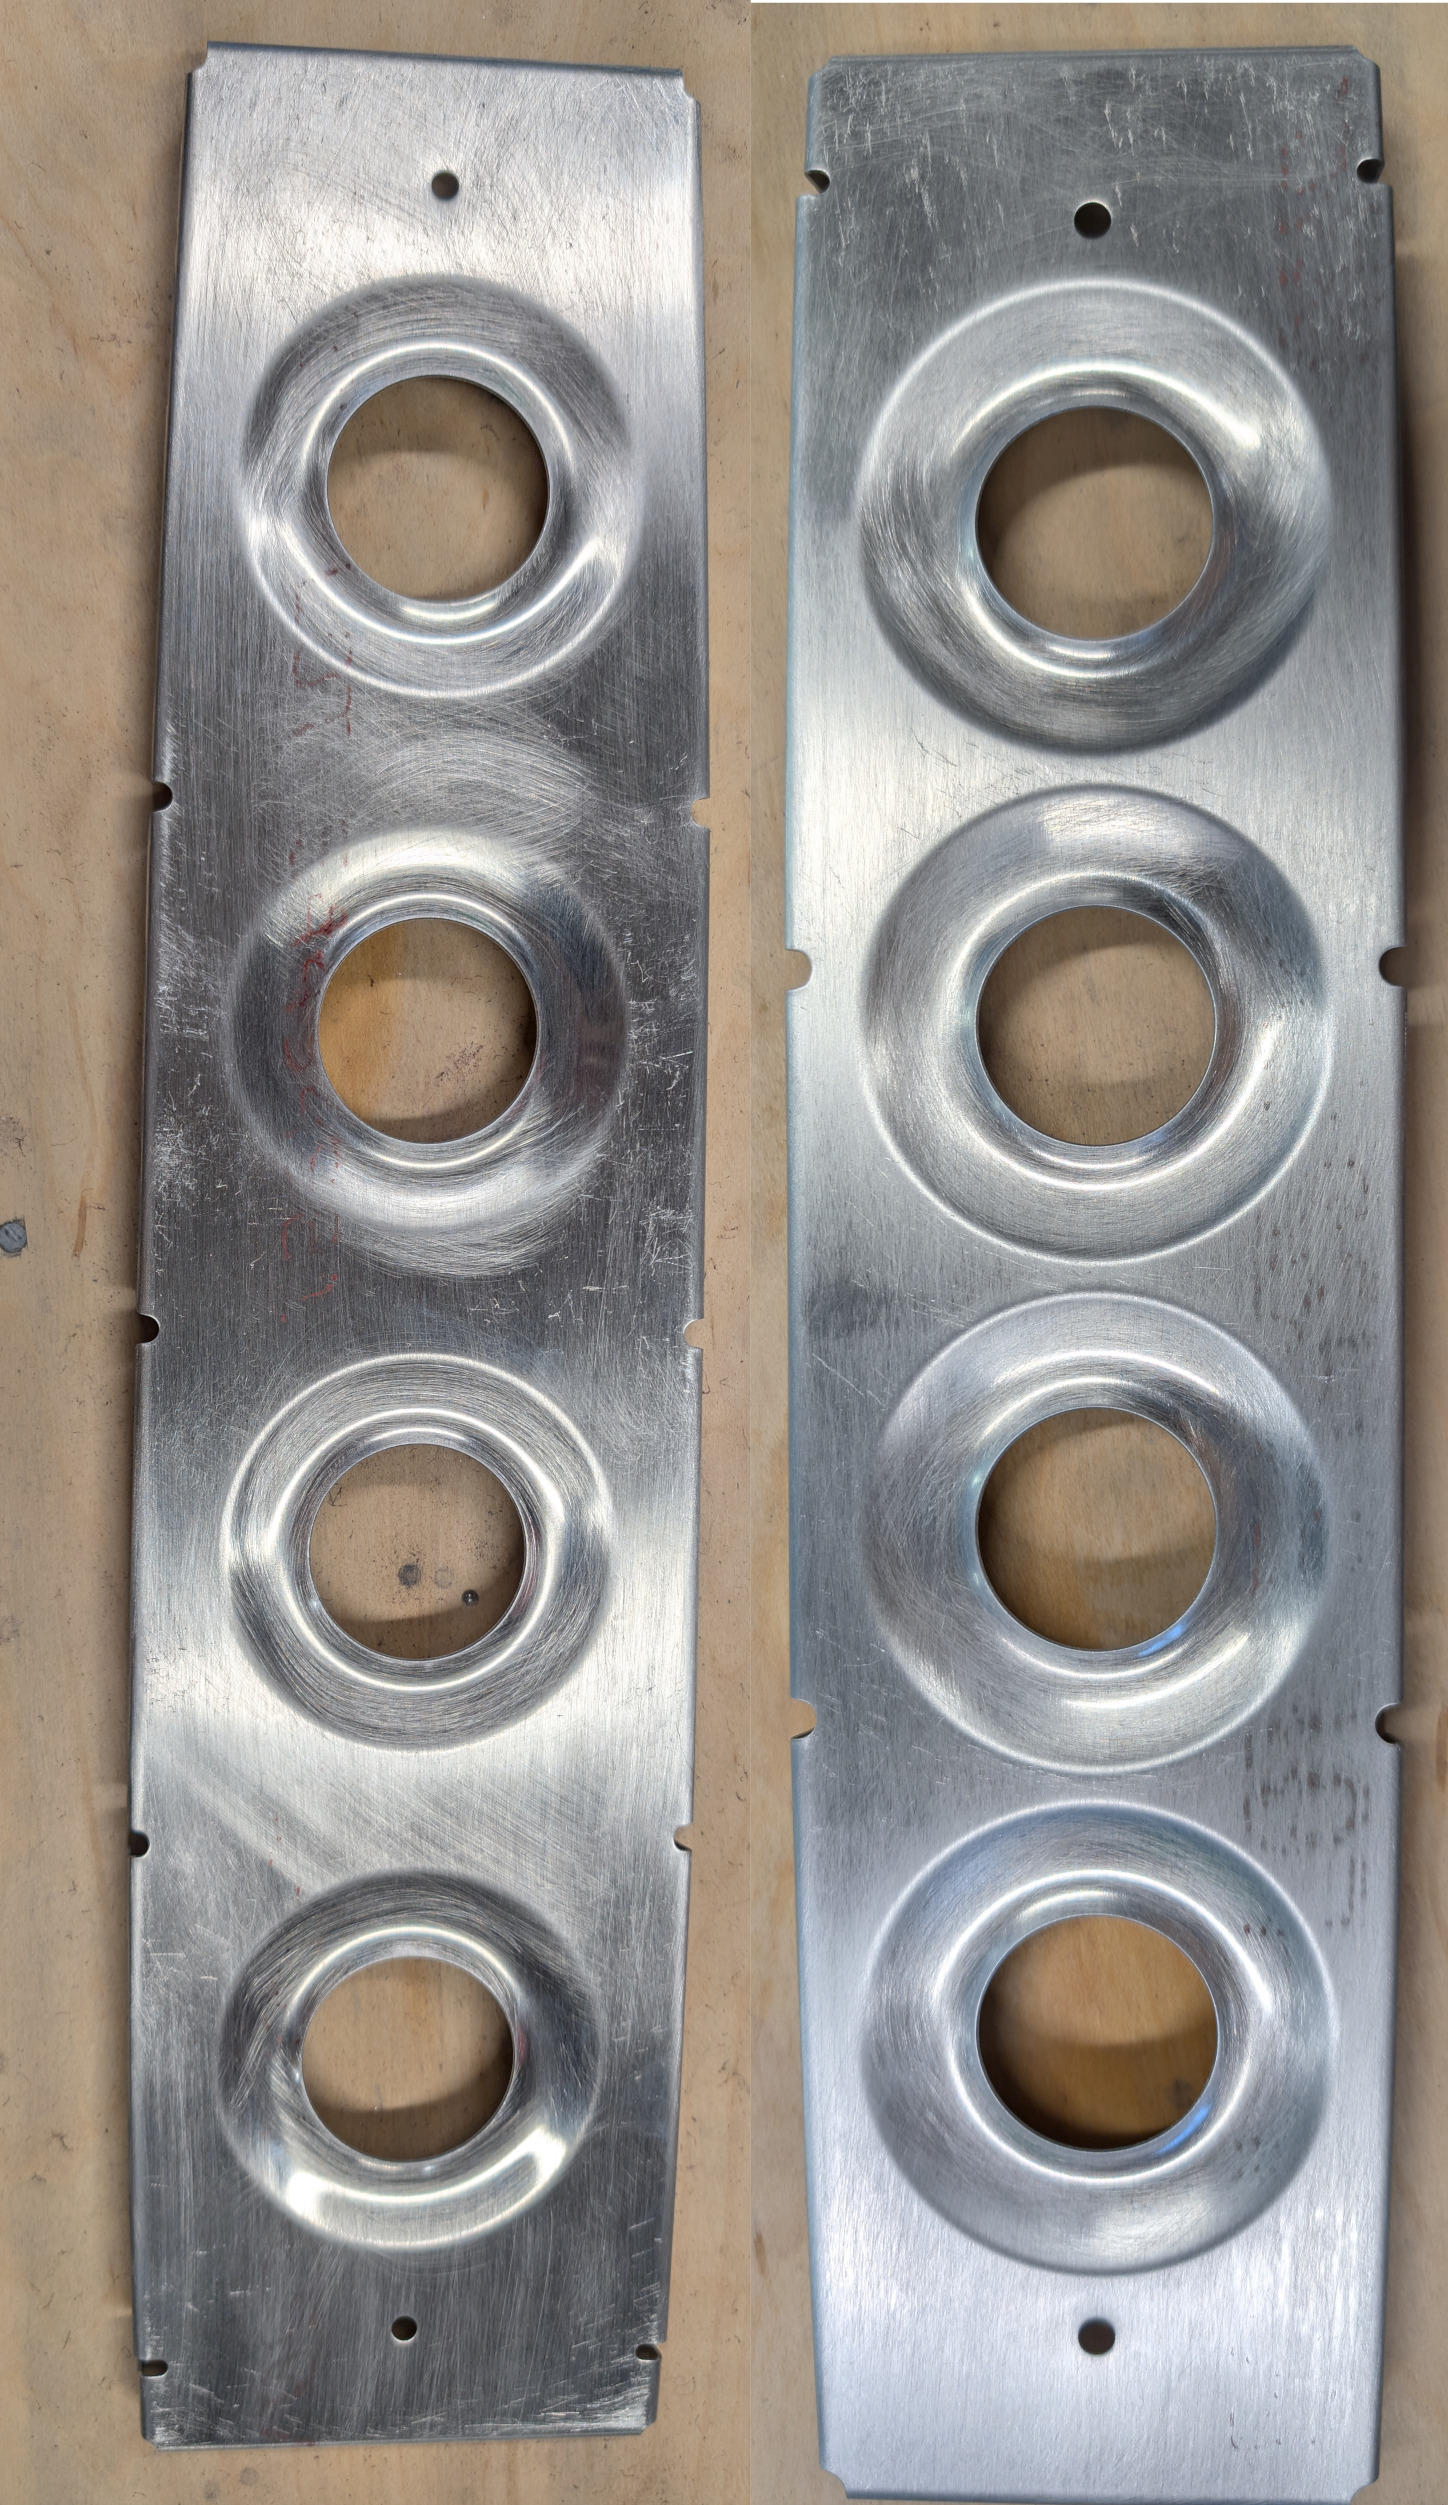
Here is an image comparing a part before etching (left) with phosphoric to after (right):
 ([full size])
![[full size]](../static/2026-05-25-unetched.jpeg)
As you can see, even though the part was already scuffed, the application of phosphoric acid has intensely dulled the underlying finish, changing the sheet from a reflective undercoating to a silver matte to semigloss finish. Time will tell whether this helps, I'm still waiting for the 36 hour cure window to close.
Priming was rather difficult this time around.
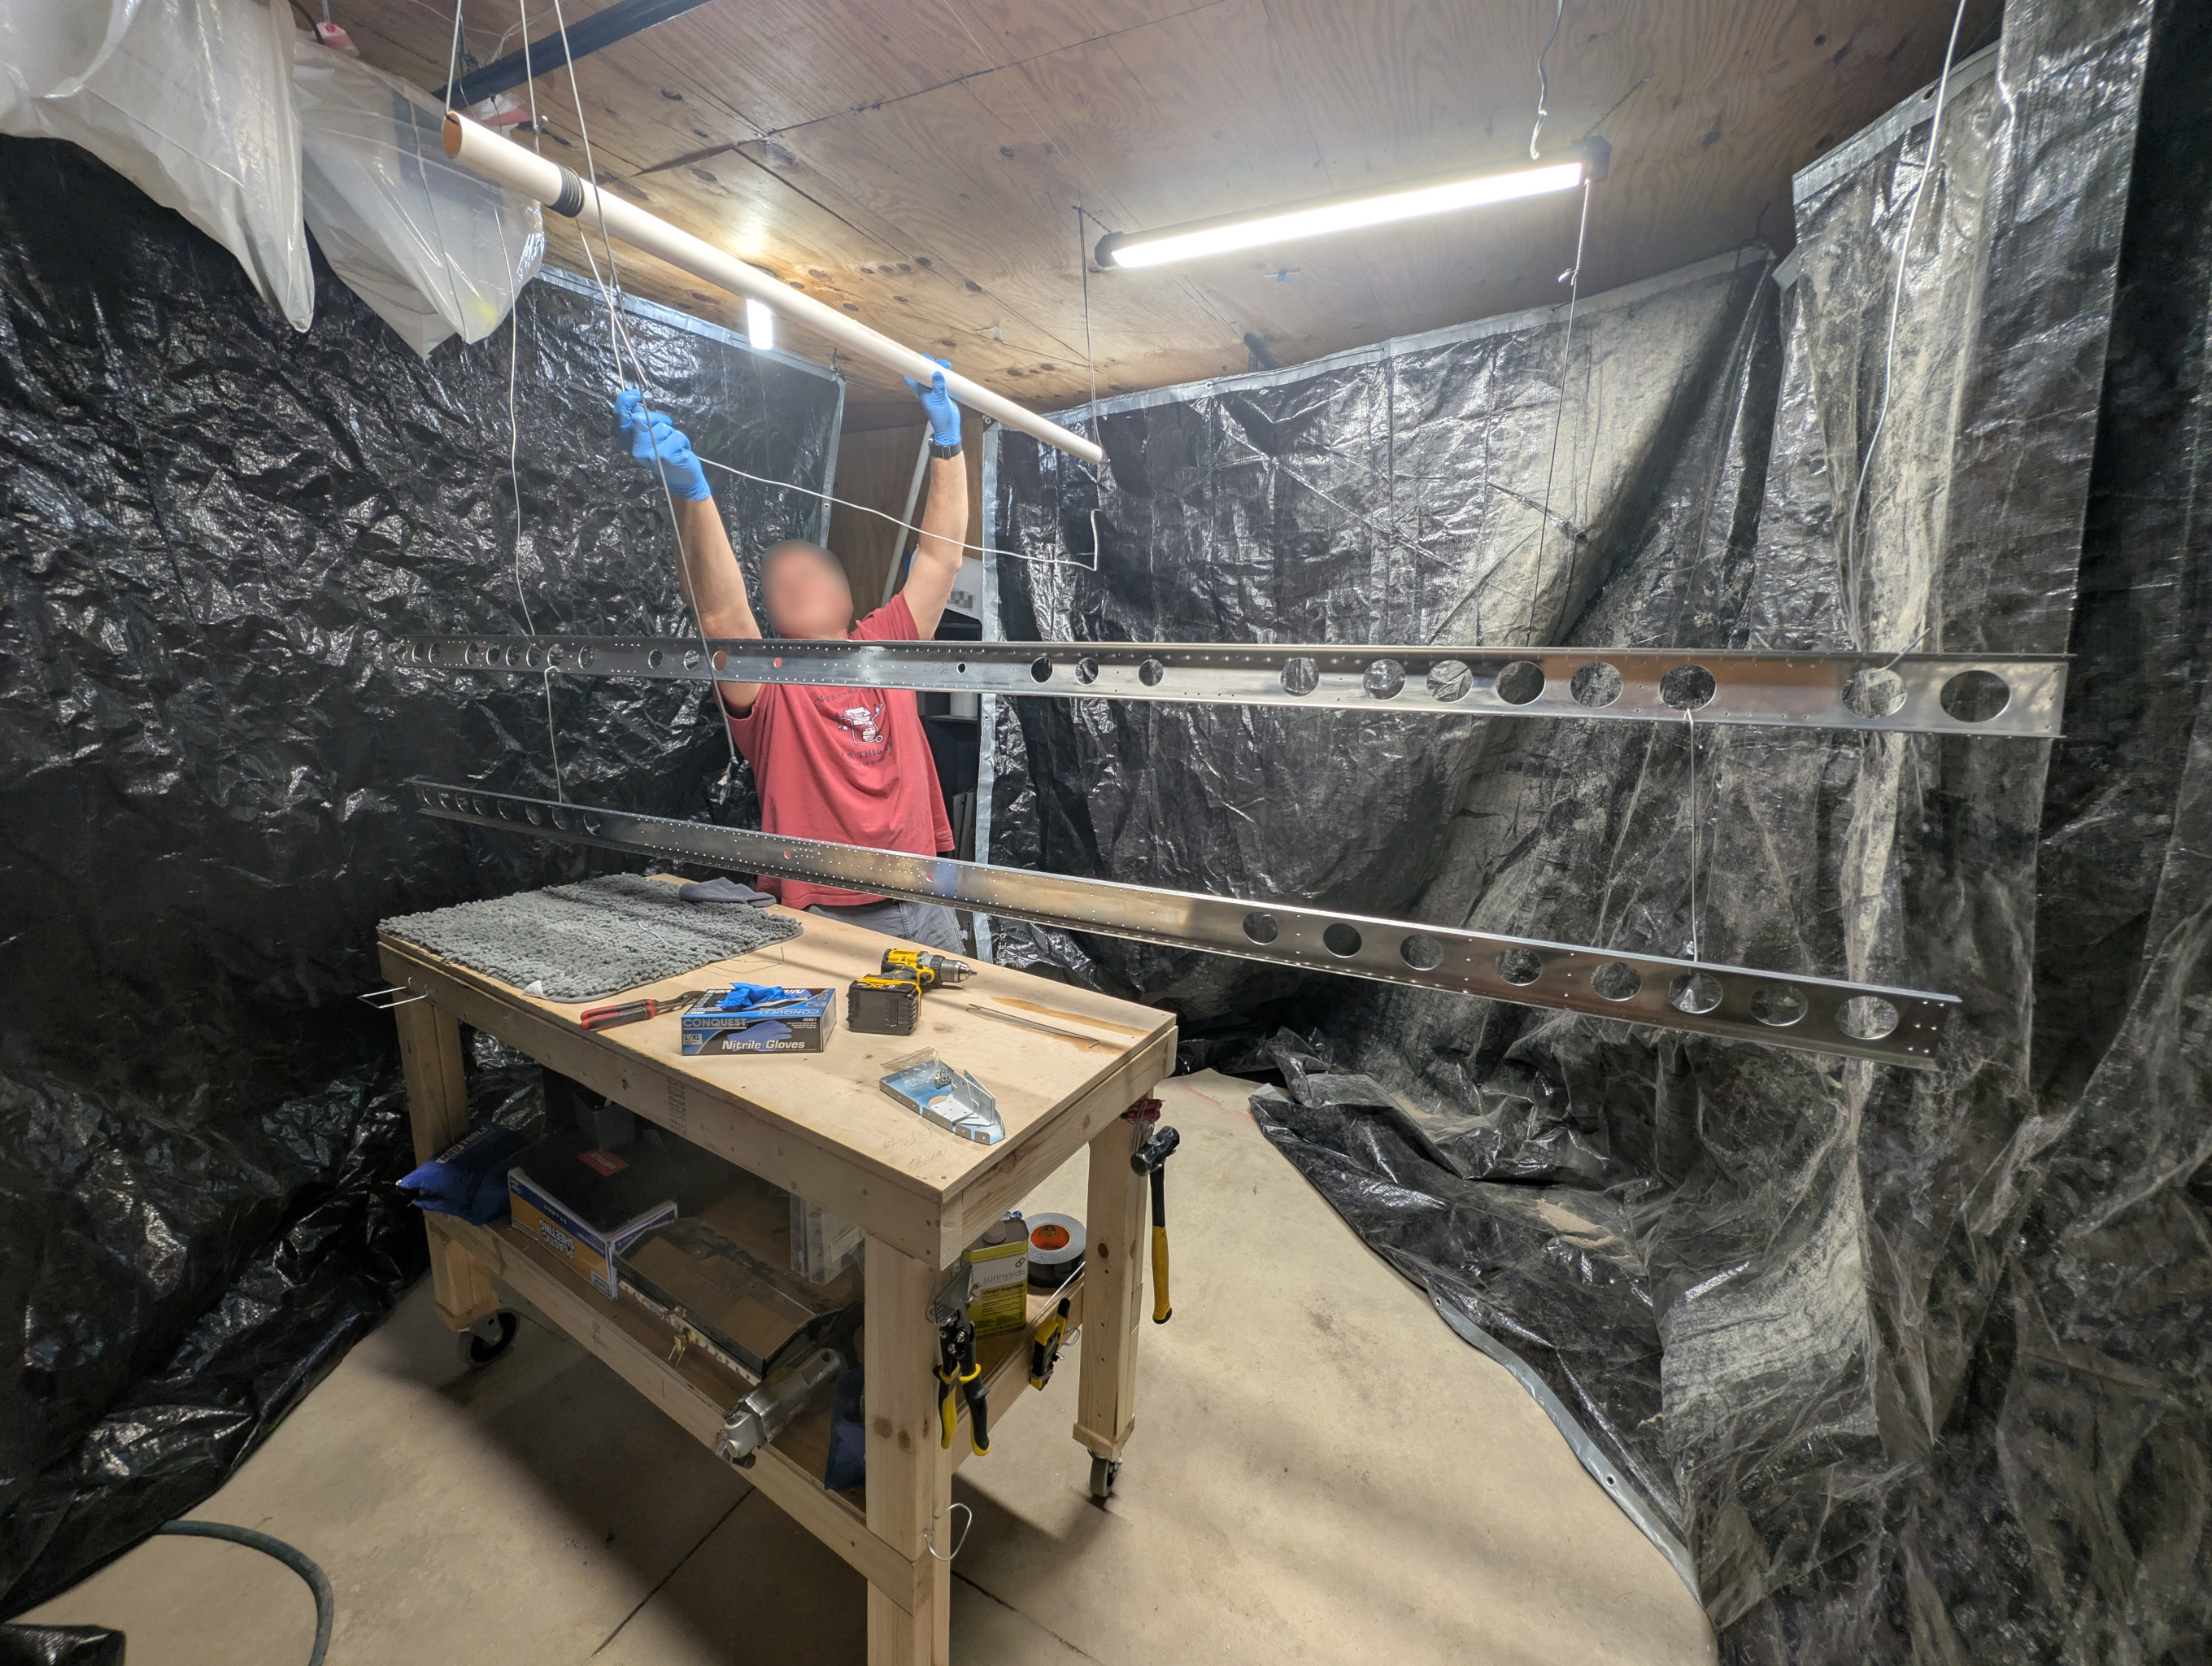
I've done 4 priming sessions so far in the build process, but this one introduced some new issues into the build. You see, the horizontal stabilizer's spars are the largest non-skin parts in the entire kit. As a result, this priming session we had to get creative with some new mounting points
 ([full size])
![[full size]](../static/2026-05-25-hstab.jpeg)
So, what you're looking at here is my father and I using the garage door rail as a hanginh hook for the horizontal stabilizer. This is immediately before we suited up to spray, and as you can see, this thing is nearly 10 feet long. There are 2 spars, one for the front, and one for the 'mid' section (the rear is just elevator in our case). Then, for the vertical stabilizer parts that we were also priming, we made use of the usual PVC hangar, which has treated us well so far. In total, we used nearly 180g of primer (220g if including water) for these parts, bringing the total to just below 1/2 kg of primer used so far. Vans says priming the inside of an airplane should add about 10 lbs to the aircraft, and I'm not sure that we could even coat the plane with that little primer unless we're only coating the metal-metal contact points. Perhaps there are other VOCs that come off the polymer as it cures which also reduce the weight. There's also residual water in the part A that my calculations do not account for, as well as any and all primer that simply misses the parts.
 ( [full size] )
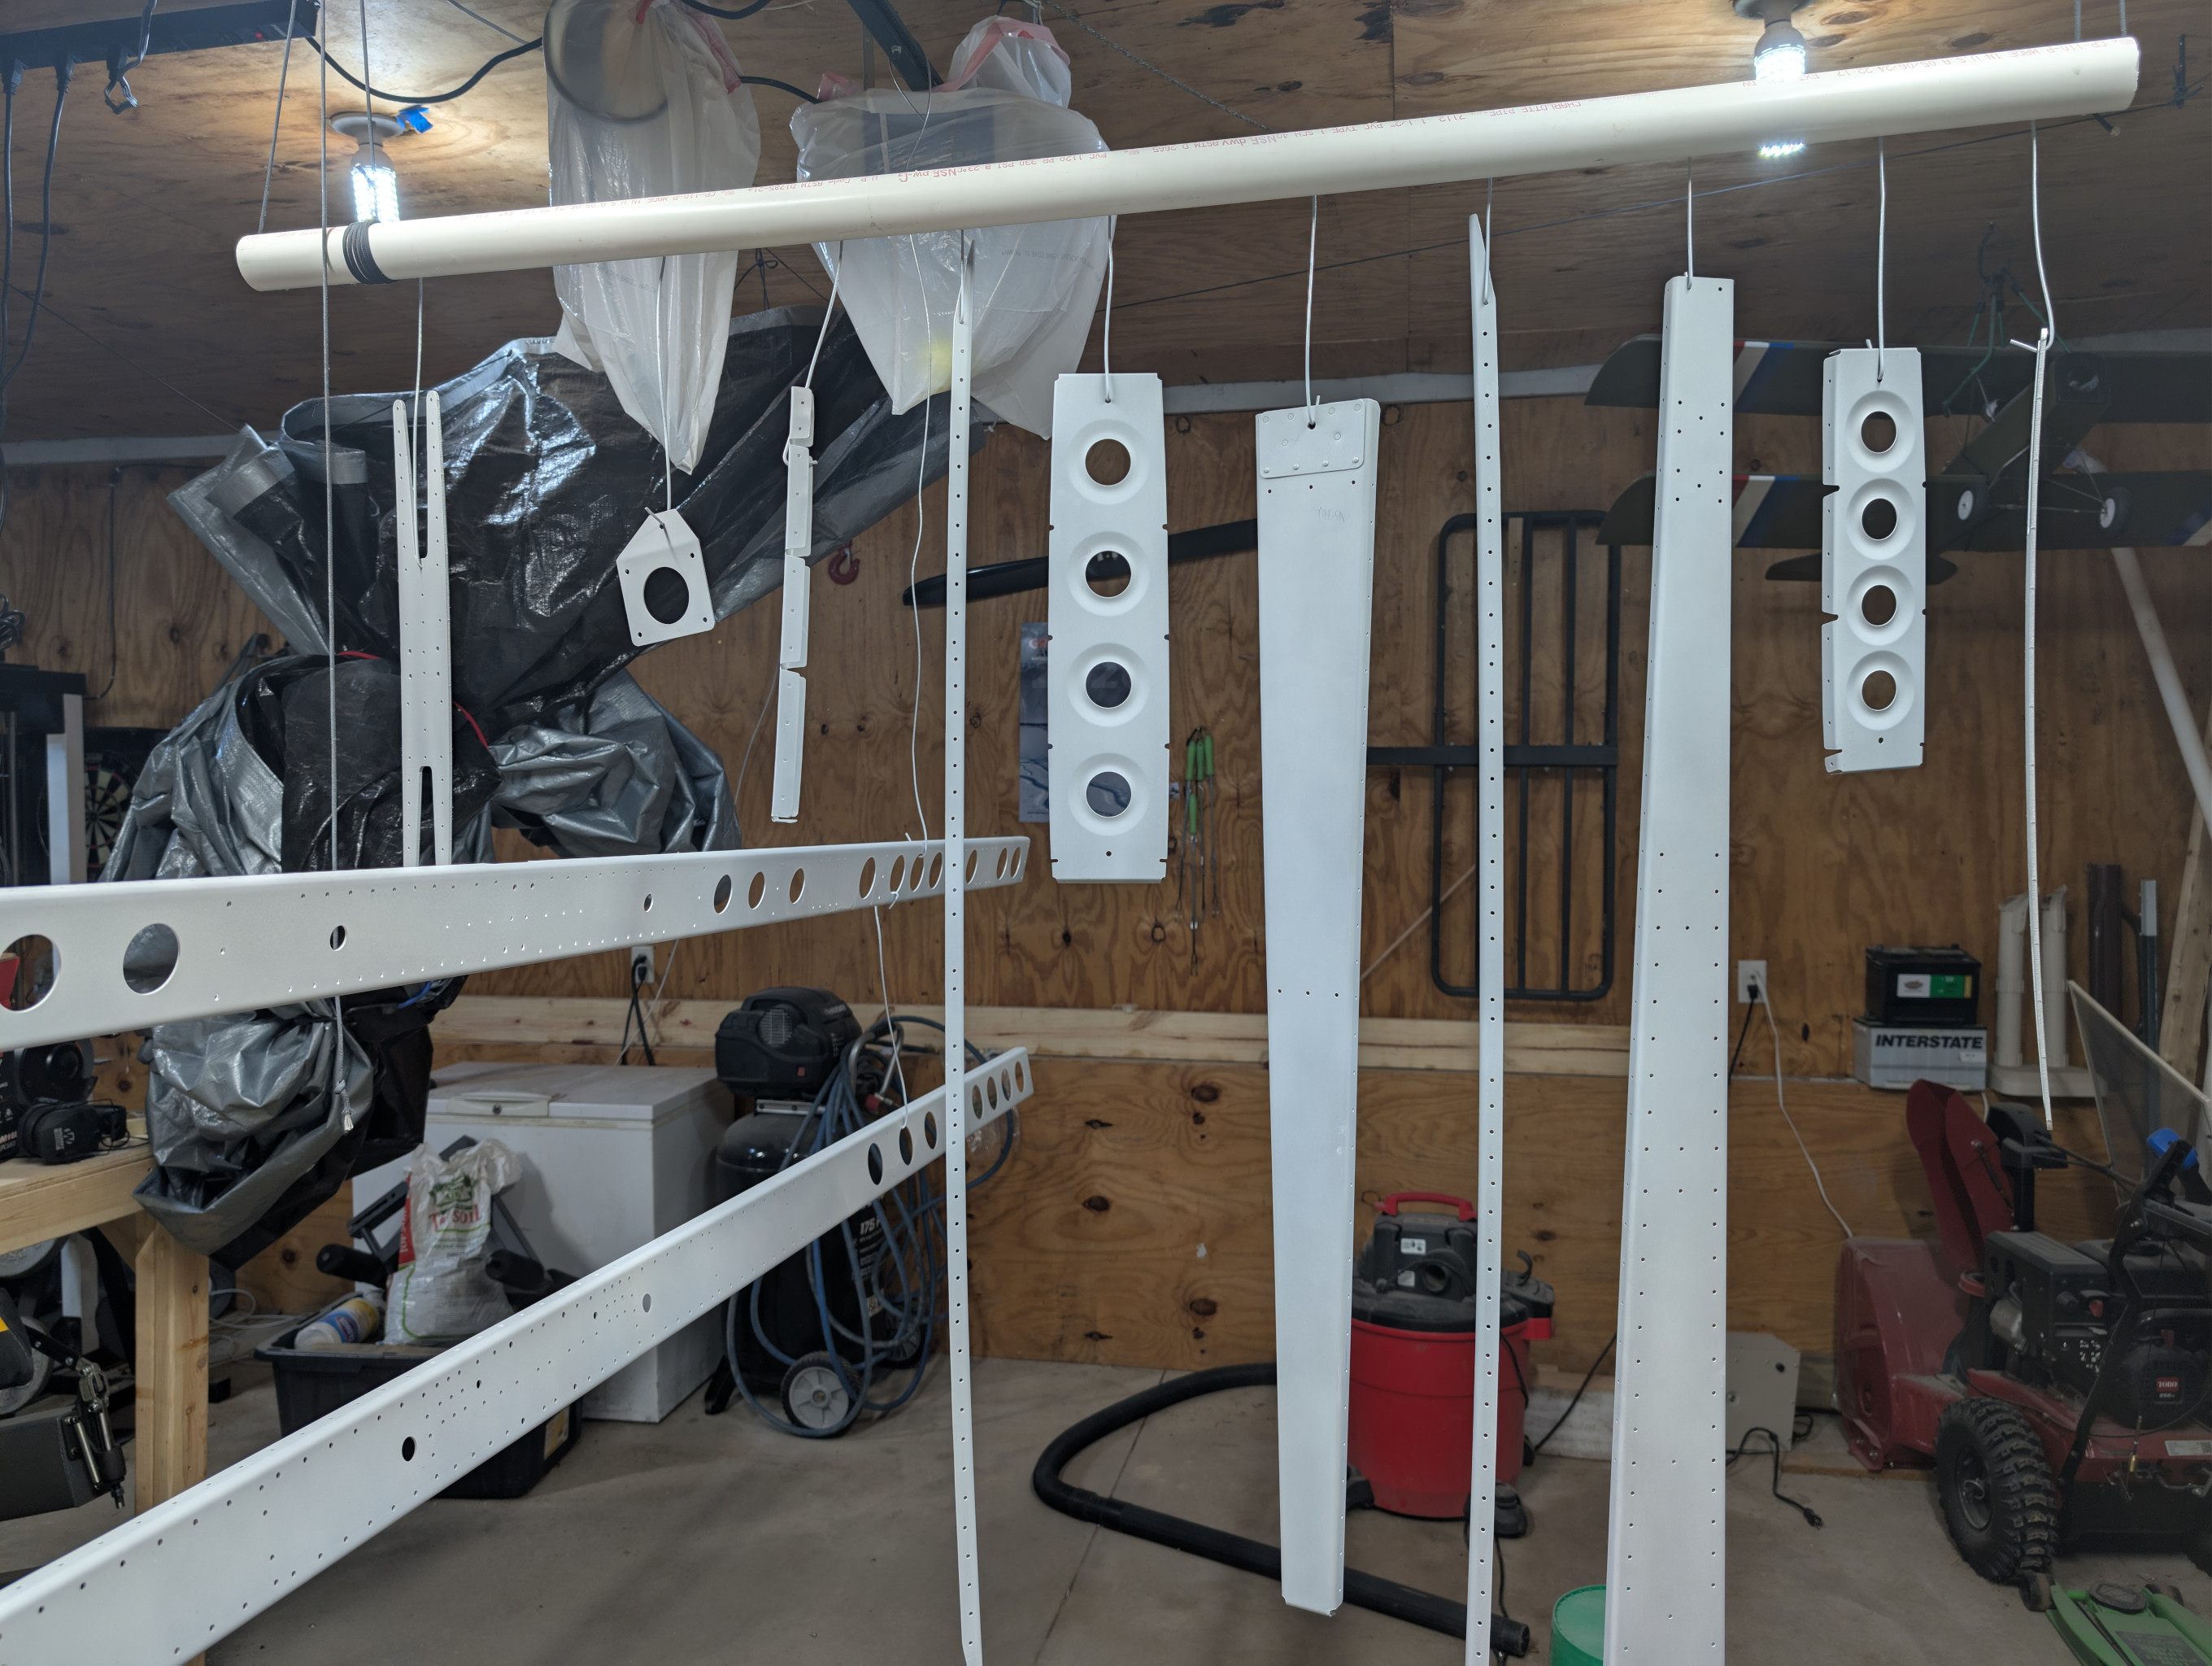
Here is the final result. You can also see what the same space looks like when the tarp is not spread. It's held in place by a few bungees, and there's one tarp for each diagonal. Anyway the parts came out looking great, I should be able to complete the vertical stabilizer with the priming that we did today. Just gotta wait for that 36 hour cure window.
( [full size] )
Here is the final result. You can also see what the same space looks like when the tarp is not spread. It's held in place by a few bungees, and there's one tarp for each diagonal. Anyway the parts came out looking great, I should be able to complete the vertical stabilizer with the priming that we did today. Just gotta wait for that 36 hour cure window.